Alaska: Wrangell-St. Elias National Park- Iceberg Overlook to Iceberg Lake- Day 5

Alaska: Wrangell-St. Elias National Park- Iceberg Overlook to Iceberg Lake

Total Mileage- 6.04 miles

Total Elevation Gain- 891 feet

Total Elevation Loss- 1889 feet

Screen Shot 2018-12-08 at 8.32.22 PM

Screen Shot 2018-12-08 at 8.48.54 PM

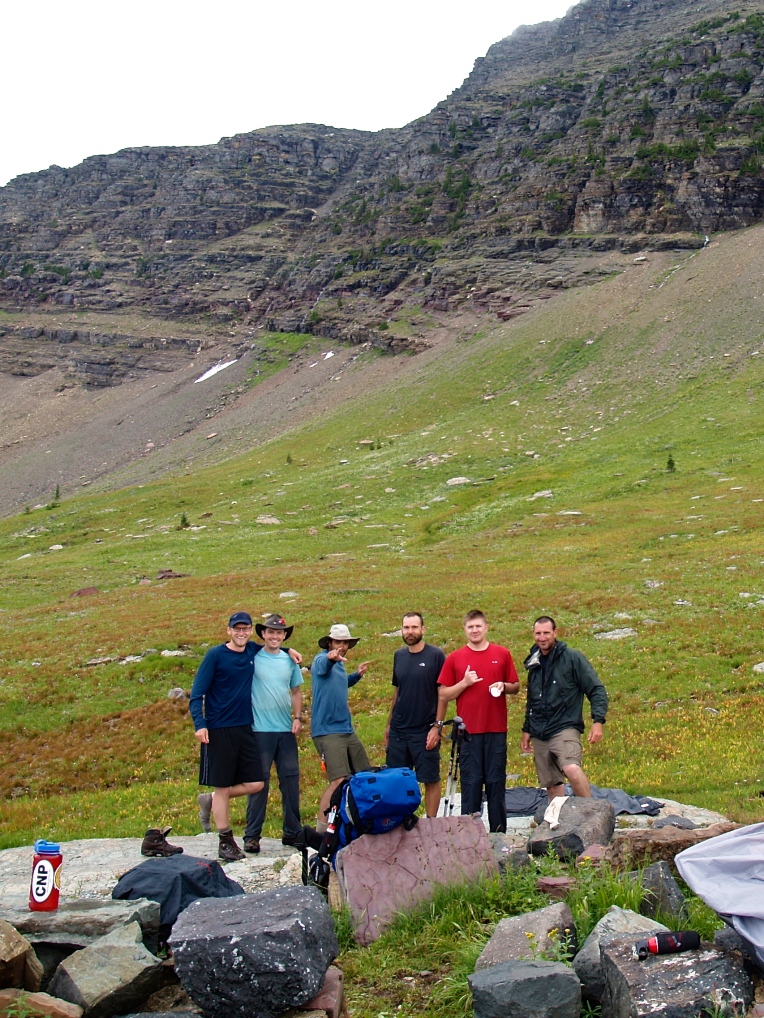
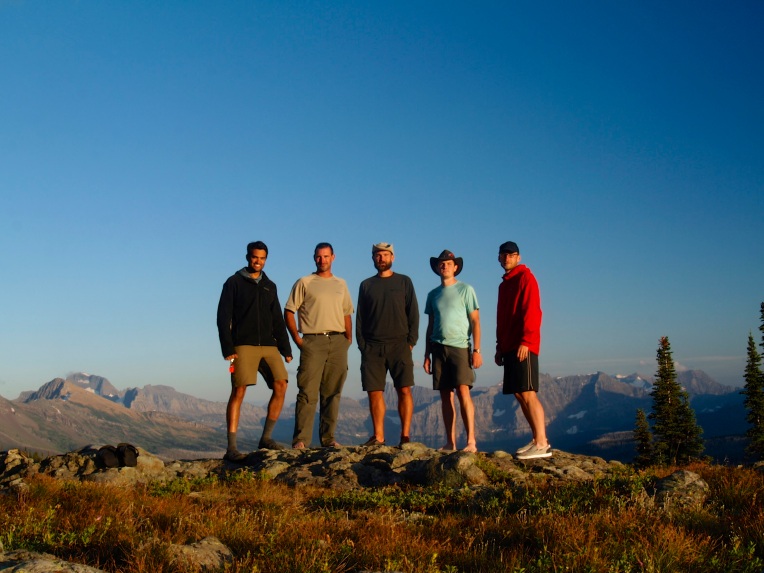
Day 5 in Wrangell St. Elias National Park in southeast Alaska started with a day hike and ended with our trek to Iceberg Lake where the bush plane would be picking us up on day 7. Logistically there was a discussion on how we would play day five. From Iceberg Overlook (where our camp was set) we definitely wanted to do a day hike to find a hidden lake that had Patrick and Josh obsessed. But after the day hike, we discussed camping one additional night on Iceberg Overlook because it was just such a stinking great spot, likely one of my favorite campsites on any trip. But, with some rain likely late in the afternoon we decided to go ahead and make our break toward Iceberg Lake after the day hike.

IMG_4288IMG_0137

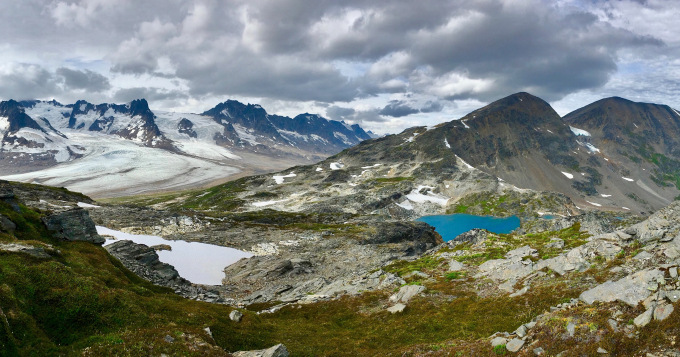
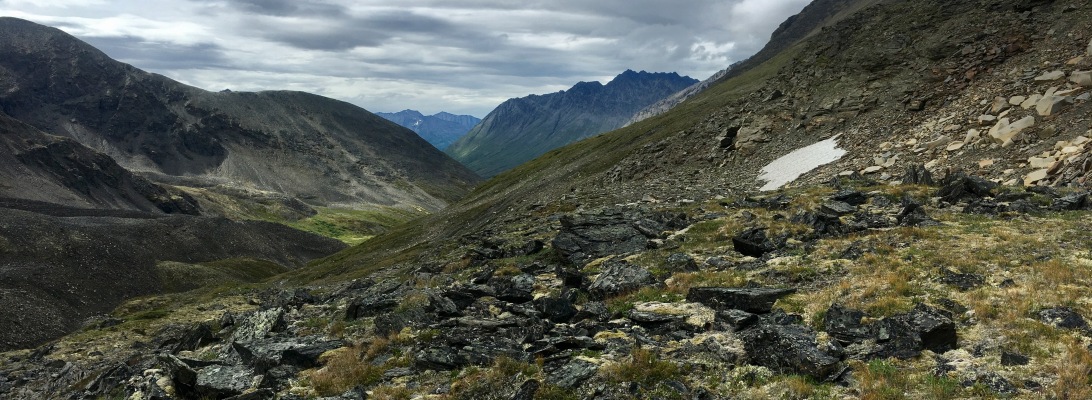
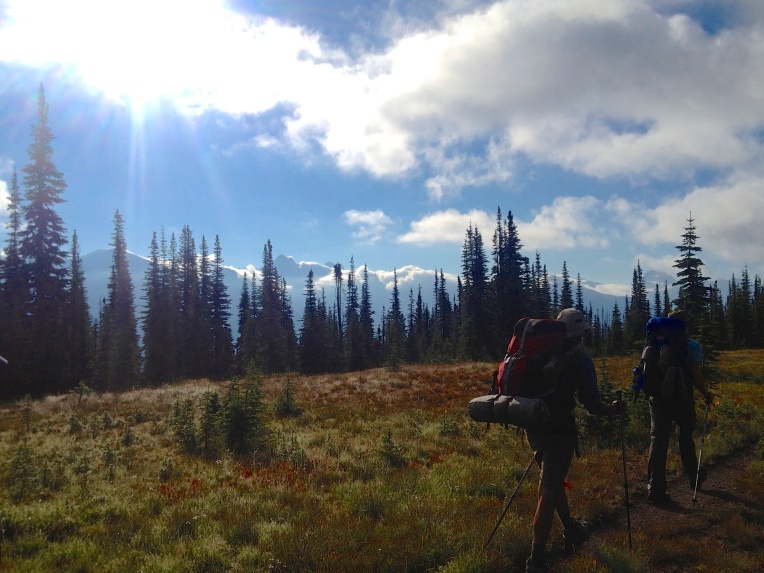
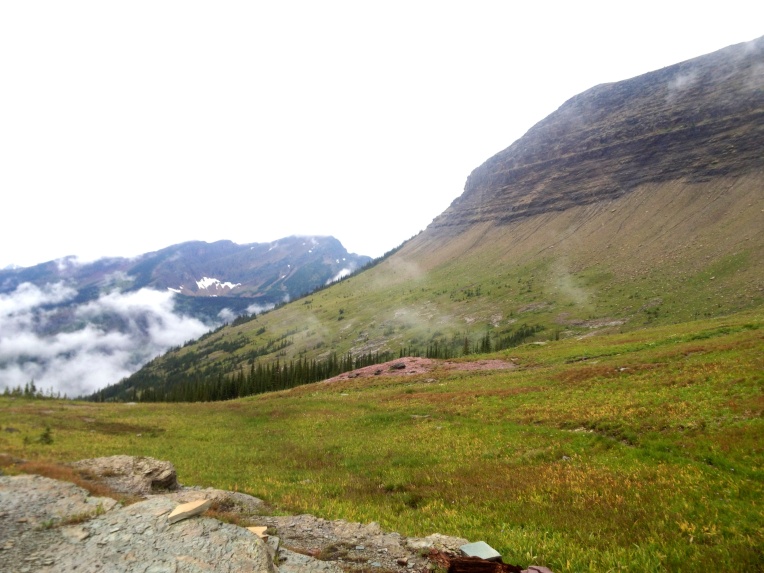
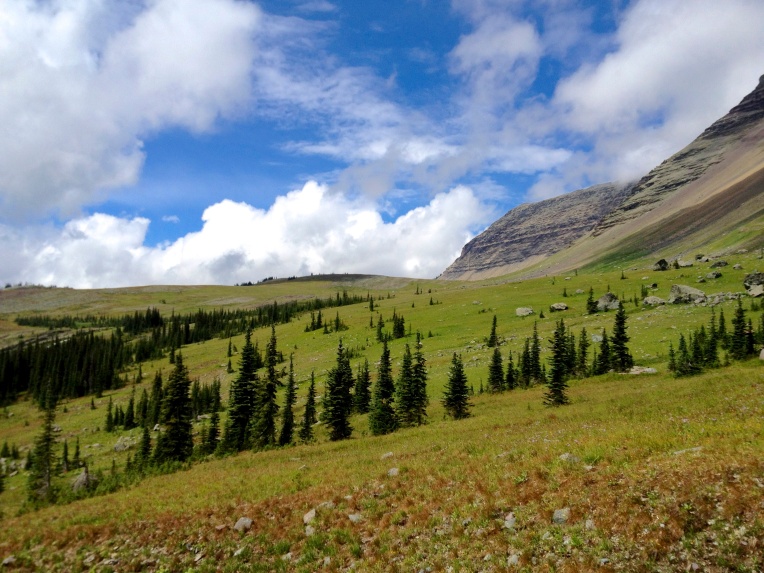
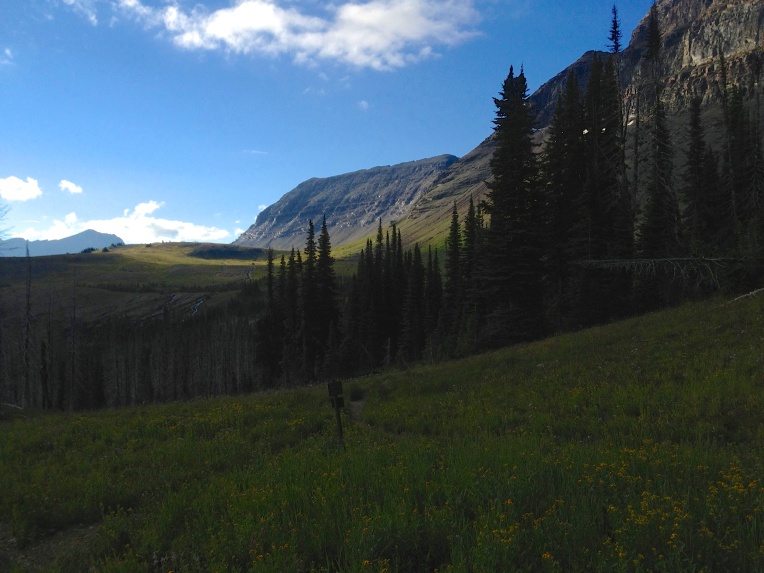
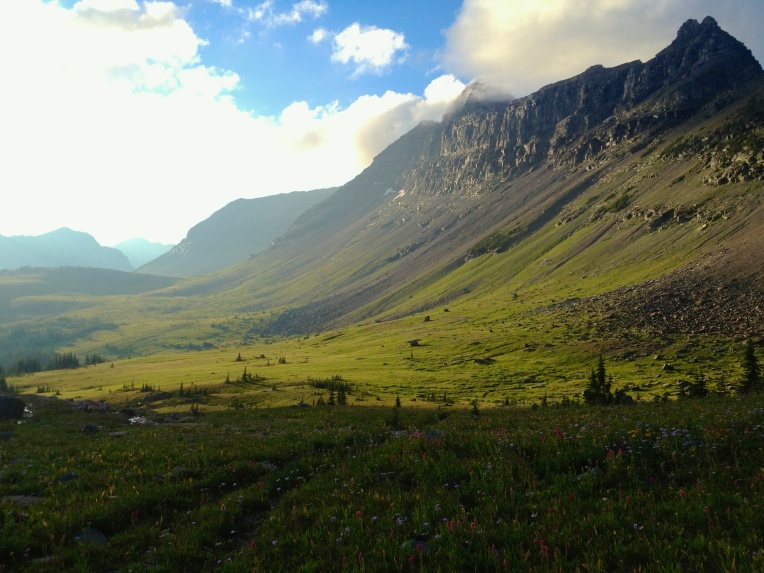
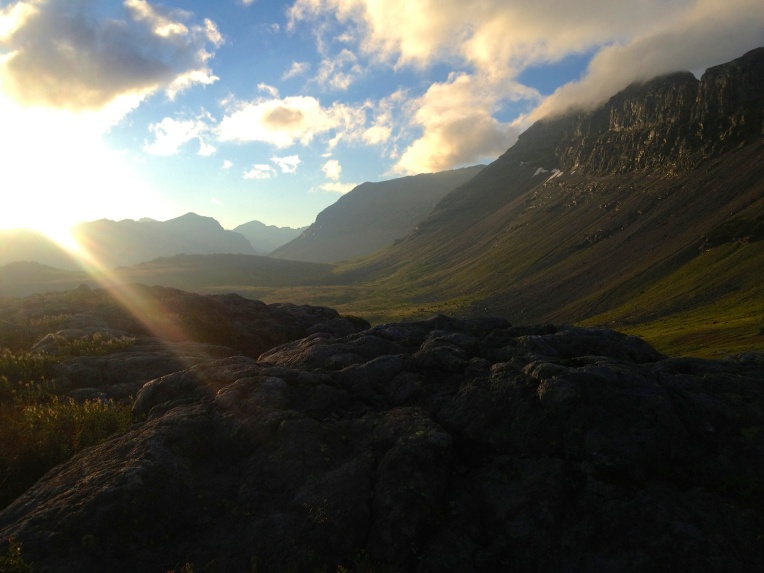
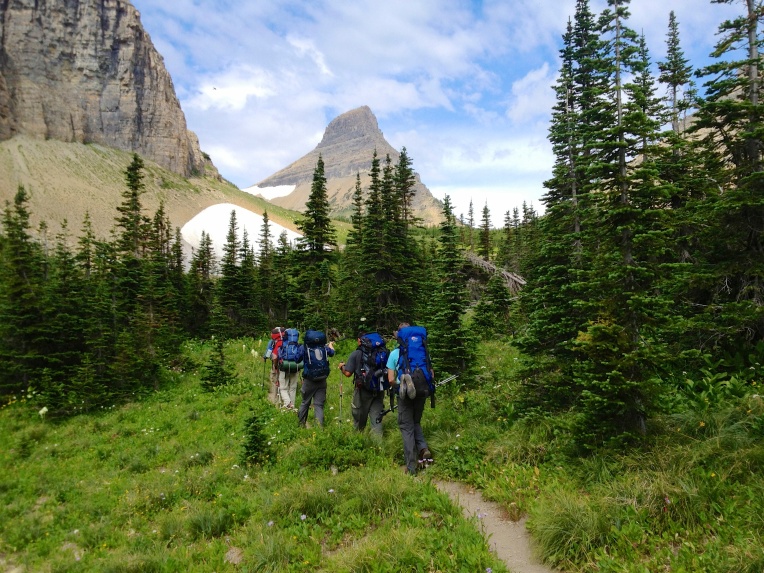
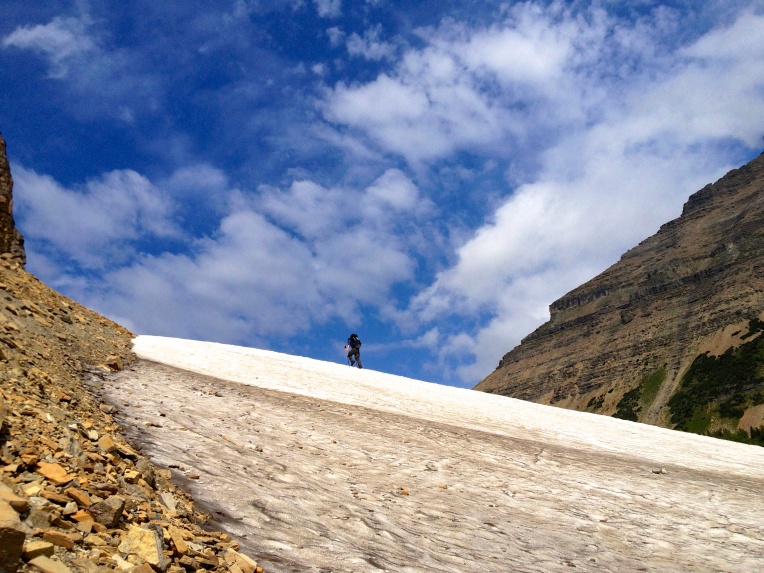
Our day hike took us north northeast away from Iceberg Lake and up about 900 feet. As is typical with Alaska, there were blueberries once again covering every step. I have to admit feeling guilty when backpacking Alaska, because you just can’t walk without stepping on blueberries! Our hiking time doubles because we can’t help but continually stop and forage. So much goodness and abundance. Not to mention that this was a STUNNING hike. The higher we ascended, the more ridiculous the panoramic views became. If you ever make it into this area of Wrangell, figure out a way to spend an entire down day hiking around and exploring. You will be better for it.

IMG_4198IMG_4216IMG_4201IMG_43462234F482-4A39-4C15-987D-C8A2CE3DDB99IMG_4205

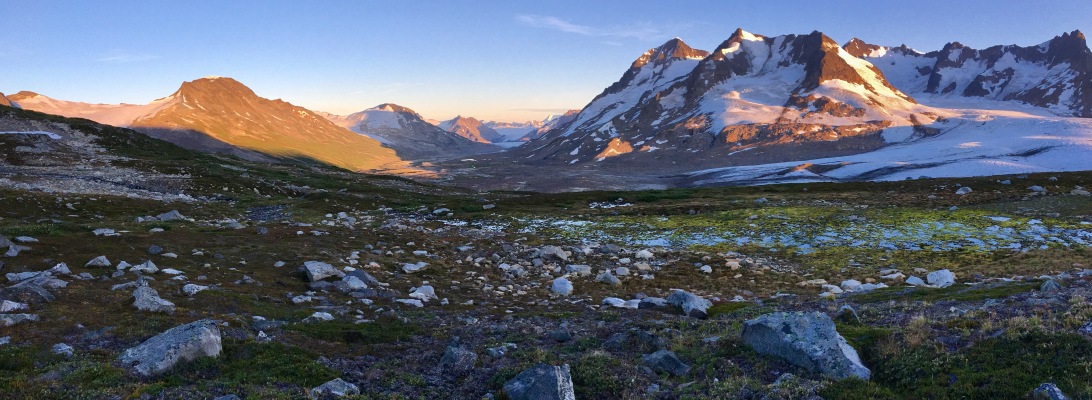
Honestly, there isn’t much to say about this other than… wow wow wow. Out of every trip we have taken… THIS is the most beautiful spot I have ever stood. I could have stayed the entire week in this place.

FullSizeRender 20IMG_4199

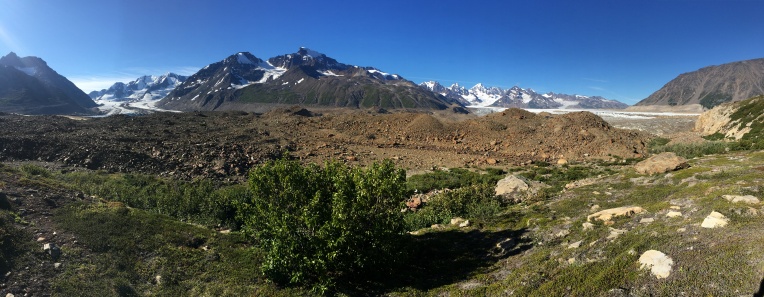
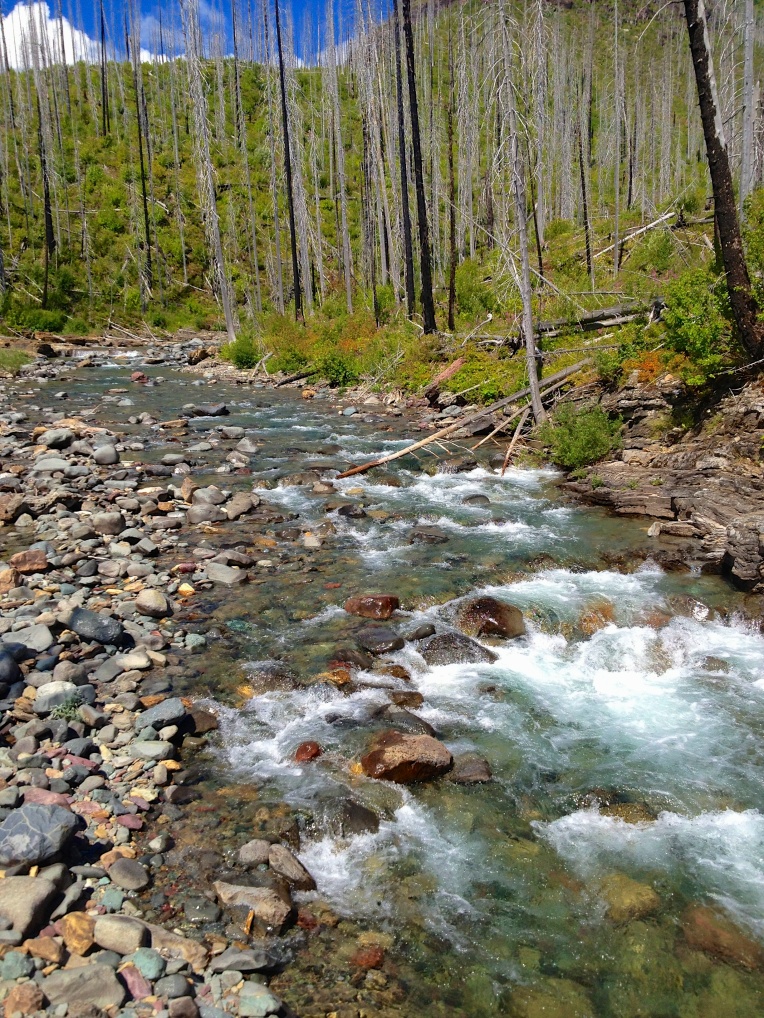
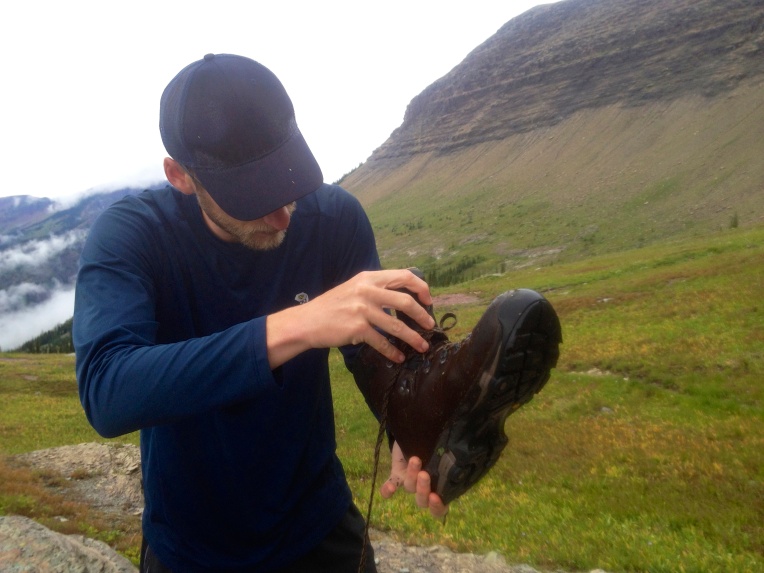
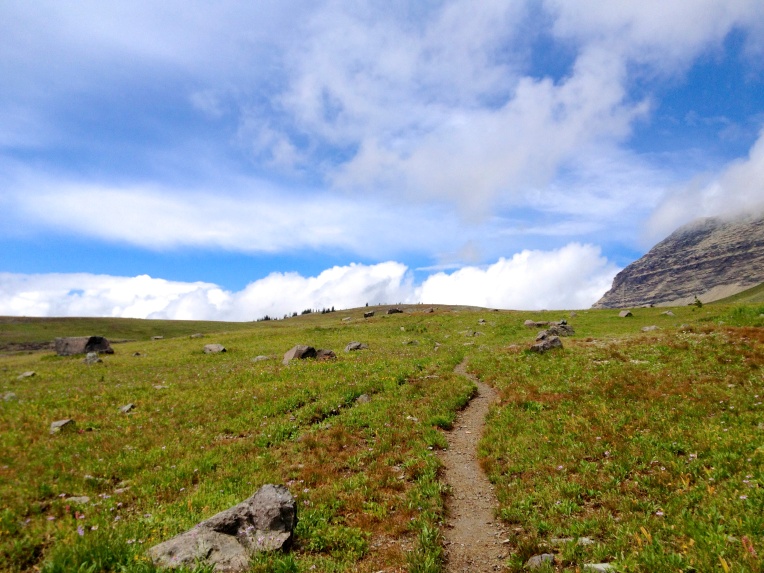
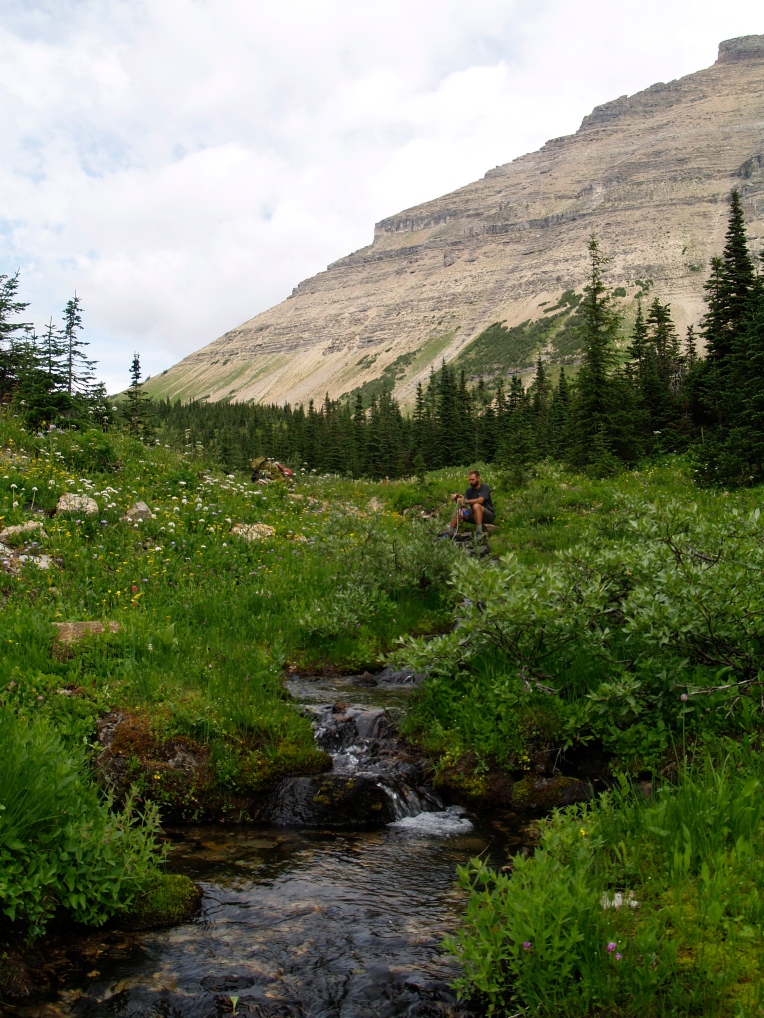
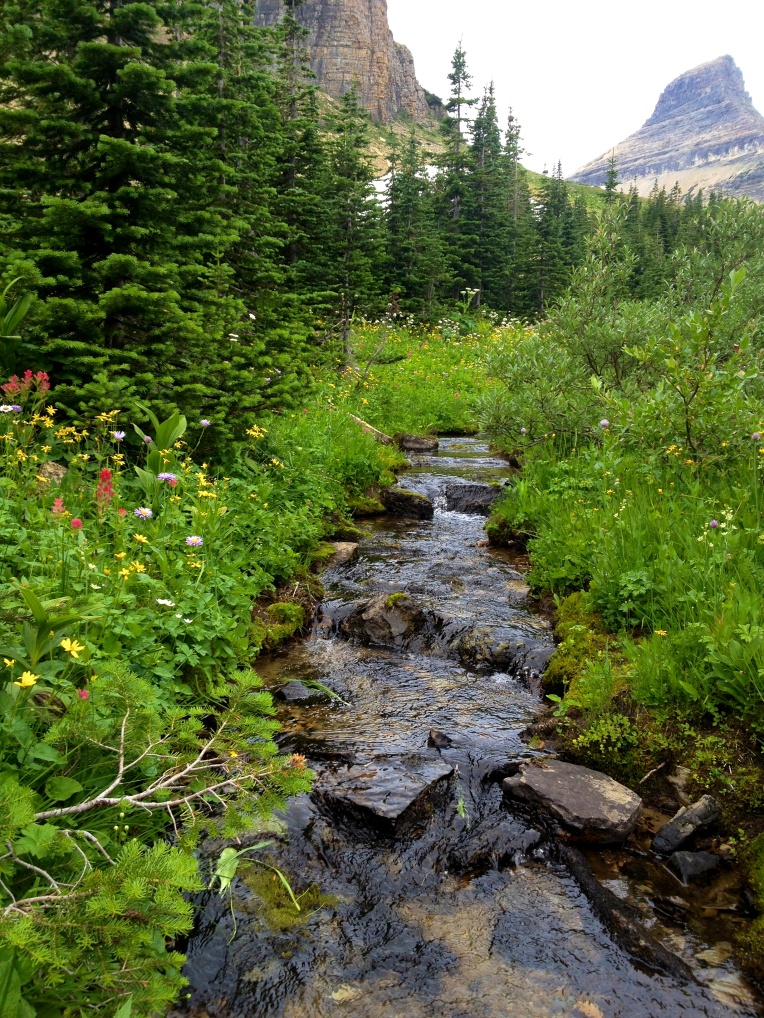
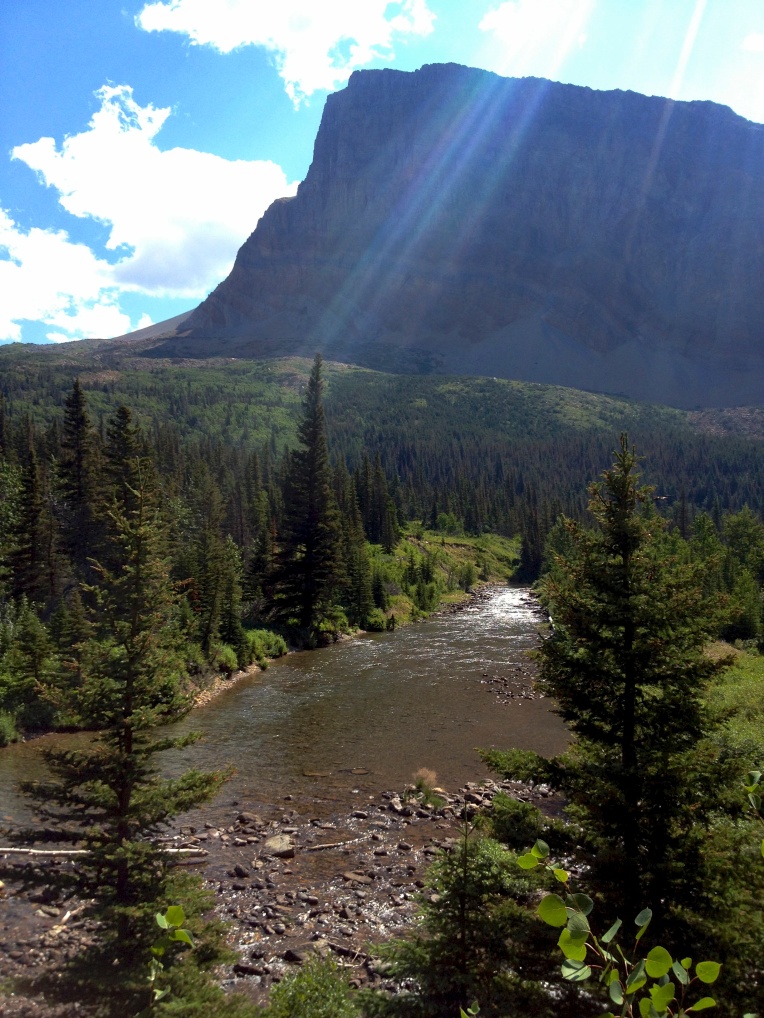
After we broke camp, we began our five mile jaunt to Iceberg Lake. This is where we were planning to camp on night five and day hike from on day six. That plan would change, but we still had to get to Iceberg Lake and find the landing strip. We headed down the gentle slopes of soft, spongy tundra laden with rocks and boulders and it was a pleasant, leisurely trek. That is until we got down to the braided glacial streams that reminded us that Alaska is never to be taken leisurely! While the streams look like you could just jump over them in the pictures, let me assure you that isn’t the case. They are deep and very fast moving. Admittedly, we waste a lot of time trying to find narrow portions that are easier to traverse, rather than just jumping in and going for it. I have said this about other trips, but I hate wet boots. I will jump in, but I always look for an option that keeps my boots dry. But as you soon figure out in the wilderness, you just have to suck it up and get across.

The only hiccup we had with the crossings was that Adam lost one trekking pole a couple of days earlier, which was going to decrease his stability in crossing. I would either lock arms with him on a crossing, or throw one of my poles to him after I had crossed. On this particular section there wasn’t anything that required anything more than trekking poles and a basic understanding of how to cross. The deepest we encountered was just above the knees.

One additional navigational point. As you are traveling south from Iceberg Overlook, I would recommend hugging a bit more toward the west. If you look at the very rough Google Map above, you will see that cutting too far east will get you into trouble, as the terrain gets very step and hard to traverse. Also, if you err toward the east, you will have an incredibly difficult time getting back to the airstrip because the crossings become too difficult. There isn’t any real way to tell you how to do it other than to stay away from the more eastern route.

IMG_4217imageIMG_4223

As is typical with difficult sections, I rarely take pictures. Sorry. It was cold and rainy and we were pretty wet from the crossings. After finishing the last portion of stream crossings and getting into the sand, we ducked into a small sand carve out to block the incessant and biting winds, and to also figure out our navigation points. It is at that point that we used the GPS device to check the weather. What we saw was that the rain was going to continue for the next day unabated at 100%. We debated what we ought to do, because the next day was to be a full day of day hikes. We decided to send a text to the bush plane company to see if they were going to be in the area the next day. As it turned out, they would be dropping a group at the exact spot where we would be camping. While it was unfortunate to bail one day early, none of us felt like getting hypothermia. We set our tents up in the sand while it poured rain (yup, nothing there but sand!). After getting off the cold, wet clothing and drying out the tent, I went to bed in my toasty sleeping bag.

The next morning was cold and rainy, as expected, but it wasn’t long before we could hear the low roar of our ride out. Wrangell St. Elias was everything and more and more and more. I absolutely cannot wait to go back there one day.

IMG_4229IMG_4233

Alaska: Wrangell-St. Elias National Park- Bremner Glacier to Iceberg Overlook- Day 4

Alaska: Wrangell-St. Elias National Park- Bremner Glacier to Iceberg Overlook

Total Mileage- 9.1 miles

Total Elevation Gain- 1928 feet

Total Elevation Loss- 918 feet

Screen Shot 2018-08-19 at 5.03.16 PM

Screen Shot 2018-08-19 at 5.05.20 PM

Day 4 in Wrangell-St. Elias National Park in Alaska would take us from Bremner Glacier to Iceberg Overlook. It is nearly impossible to locate names for areas in Wrangell, so I just made up the Iceberg Overlook, being that our campsite for this night faced the direction we would be heading… Iceberg Lake. I don’t recommend doing nine miles of trail-less backpacking in Alaska. Others may disagree, but I find that one mile per hour on difficult terrain is very taxing. And, I am not getting any younger. This particular day was 8 hours and 37 minutes of hiking time. This did not include breaks or lunch time. It was a long day, but one of the most beautifully stunning days we have had on any trip.

The day started brilliantly with exquisite views of Bremner Glacier and once we packed up we headed eastward from craggy rocks into sandy beaches. It was surreal to be in the middle of Alaska and to be walking in the sand in the middle of the mountains. The sand transitioned into a lush green valley floor that we would follow the rest of the day for about six miles.

IMG_4098IMG_4106IMG_4120IMG_4123IMG_4132

There were a few small creek crossings on this stretch. At one crossing we were searching for rocks to hop across (and looking a bit too myopically) and didn’t notice the brown sow with cubs lingering at the same creek about sixty yards from us. Fortunately the mother was pouncing on the ground for some small rodent to notice us. We cleared out of the area, but it didn’t take us long to see where the bears had been before us.IMG_4139IMG_4183IMG_4178IMG_4164IMG_4145IMG_4153IMG_4173IMG_4175

For the most part, the terrain was really straight forward. It was low scrub and soft, mossy mounds that were a little difficult to maneuver through. There was one creek/waterfall that we had to cross closer to our end destination. That is the way it always is in Alaska. I remember that crossing and the jump that had to be made from the last rock to the other side. It had to be a perfect landing… and we all hit it perfectly. The weather was perfect this entire day with highs in the mid to low 60’s F. IMG_4161IMG_4172IMG_4186IMG_4187IMG_4189IMG_4283

The spots where we camped are likely the best spots I have ever had in my life. The ground was soft and spongy underneath with a view that very few will ever see. As you can see from the evening shot above, it was an amazing location. And it got even more epic the next morning. On day five we will do an early morning day hike up to a hidden lake and then make our way toward Iceberg Lake.

Day 5- Iceberg Overlook to Iceberg Lake

Alaska: Wrangell-St. Elias National Park- Bremner to Monahan Creek- Day 1

Alaska: Wrangell-St. Elias National Park- Bremner to Monahan Creek

Total Mileage- 6.24 miles

Total Elevation Gain- 2673 feet

Total Elevation Loss- 2391 feet

Wrangell-St. Elias. That’s enough to get your heart pumping and your blood rushing. Just the name of it. And all it takes is a little bit of research to realize that this behemoth of a National Park is everything you imagined it would be- towering mountains, braided rivers, pulverizing glaciers, and the most unadulterated peace and beauty you have ever seen in your life.

If you need more convincing that this, this trip isn’t for you.

With a four-hour time difference between Alaska and Indiana, we were ready bright and early, but it seemed as if our morning took forever. We had everything strapped up and ready to go hours before we were to meet up with Wrangell Mountain Air for a shuttle over to the airfield. Once the shuttle arrived at the main office of Wrangell Mountain Air, which is on the main dirt road in McCarthy, it only took us about 25 minutes to get to the airfield. We unloaded the packs and took them over to the bush plane, the DeHavilland Beaver (aka The Beaver). We gave the pilot our bear spray and he duct taped them to the wing of the plane, so we didn’t have any crazy mishaps during the flight, and then threw our packs in to be secured for our fifty mile ride to Bremner.

Despite the blue skies at take off, the weather quickly changed as we got into the mountains. I’m not sure what the weather is like in Bremner typically, but it seemed like it’s own little weather systems consisting of continual gray clouds and a misty rain. That is what we experienced once we landed, into the next morning, and even as we looked back in that direction on subsequent days. Being that there are no trails in Wrangell-St. Elias, all trekking would be done with the assistance of USGS Topo Maps (Bering Gl. D6, D7 and McCarthy A6, A7) to serve as a guide as to our route and direction. In preparation this trip we purchased Falcon Guides Hiking Alaska’s Wrangell-St. Elias book that details the Seven Pass Route from Iceberg Lake to Bremner, but as I mentioned in the last post, we decided to do the route backwards. We decided to go the opposite direction after talking to some locals several months in advance and then determining that we wanted the “most epic” portion of our hike to be at the very end. This choice made the book a little more difficult to understand because it was written going the other direction. Nonetheless, if you decide to do this route… I would recommend the way we did it because of the views. The one thing I can tell you about this route, you are not going to find much information about it, which makes this trip a little more epic in my opinion. You truly have to do it on your own.


Our goal for the day is to head in a southerly route and hit a shoulder to the southeast. It’s really easy to spot, if you are paying attention, but if you miss the turn you will go out of your way to get around this small range. The initial portion of this route from Bremner is easy hiking with low scrub and brush with the occasional boulder field. For the most part we avoided walking through the boulders by staying on the outer edges, but we did have an occasional short stomp through the rocks. This area is just a warm-up to what is coming later in the trip with car size boulders for miles, but for today it is an easy trek for the first two miles when we hit our cut through.

As we ascended our route began to take a northeastern turn, all of which was really great trekking terrain. Compared to our prior experience in Denali, there were very few obstacles thus far in Wrangell. Of course, later in the trip there would be significant alders to contend with but for this first day we welcomed the easy route. The colors, even on this mostly overcast day, were nothing short of spectacular. The air was clean and crisp and we took it all in with every breath. This is everything you imagine Alaskan backpacking to be and more.

The final push for Day 1 would drop down into a valley through which Monahan Creek runs. Being that we really couldn’t plan camping spots in advance, our plan was to hike about six miles each day and then look for a flat area close to fresh water and hopefully a decent (or great) view. The only way we were going to get anything close to a flat spot close to fresh water was to drop all the way down to the valley floor and look for a spot among the alders. While we were still relatively high up, we eyeballed some areas that seemed to open up in the bush. We determined that the darker green areas were high bush and the lighter area were flatter areas with little bush. We just didn’t know how much the difference would be until we got down to it. After working our way through the maze of alder, we ultimately made it to the spot we had scouted. It wasn’t as ideal as we had hoped, as it was still a little more brushy than we would have like, but after looking around for a few minutes we landed a nice spot to through up the tents.

Our trek on Day 2 will take us from Monahan Creek area to our first view of the stunning Bremner Glacier, which we will cross on Day 3.

Day 2- Monahan Creek to Bremner Glacier Overlook


Montana: North Circle Route- Fifty Mountain to The Loop Parking Lot- Day 8

Fifty Mountain to The Loop Parking Lot

Total Mileage-  13.0 miles

Total Elevation Gain- approximately 1000 feet

Total Elevation Loss- approximately 2500 feet

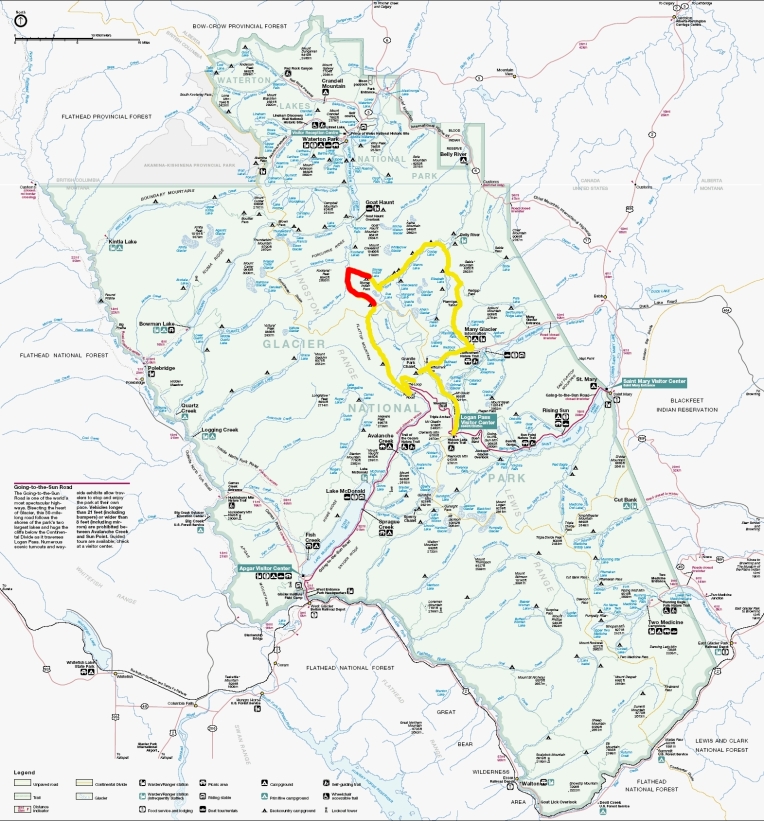
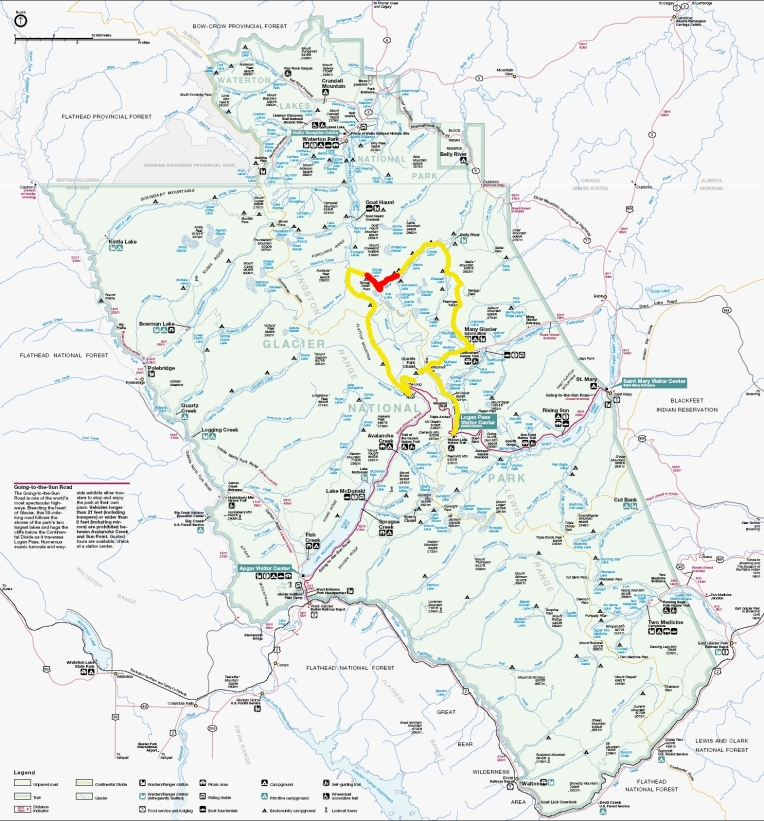
glacier-map route Day 8

Our final hiking day would take us from Fifty Mountain campsite to The Loop parking lot via Flattop Mountain Trail in Glacier National Park (Montana).

We knew this hike would involve significant distance and a ton of downhill with a big climb at the very end.  The only significant elevation, other than the end, was within the first hour of our hike and it was about 300 feet. The elevation gains and losses are estimates, as I had a hard time finding exact numbers online.  As you would imagine, this trail runs almost entirely along the top of Flattop Mountain and then gradually descends from it.

IMG_6730 IMG_6732

We got up early to get a good jump on the day.  We were estimating the hike taking roughly 6.5 hours at 2mph.  As it turned out, we averaged about 3mph and finished in about 4.5 hours.  To the top of Flattop Mountain and along the top of it, it is… well.. flat (as it’s name suggests).  And the hiking is easy.  The trail was easy without any obstruction.  The only portion that begins to be obstructed is the descent, as the Thimbleberry plants choke the trail.

IMG_6737 IMG_6735

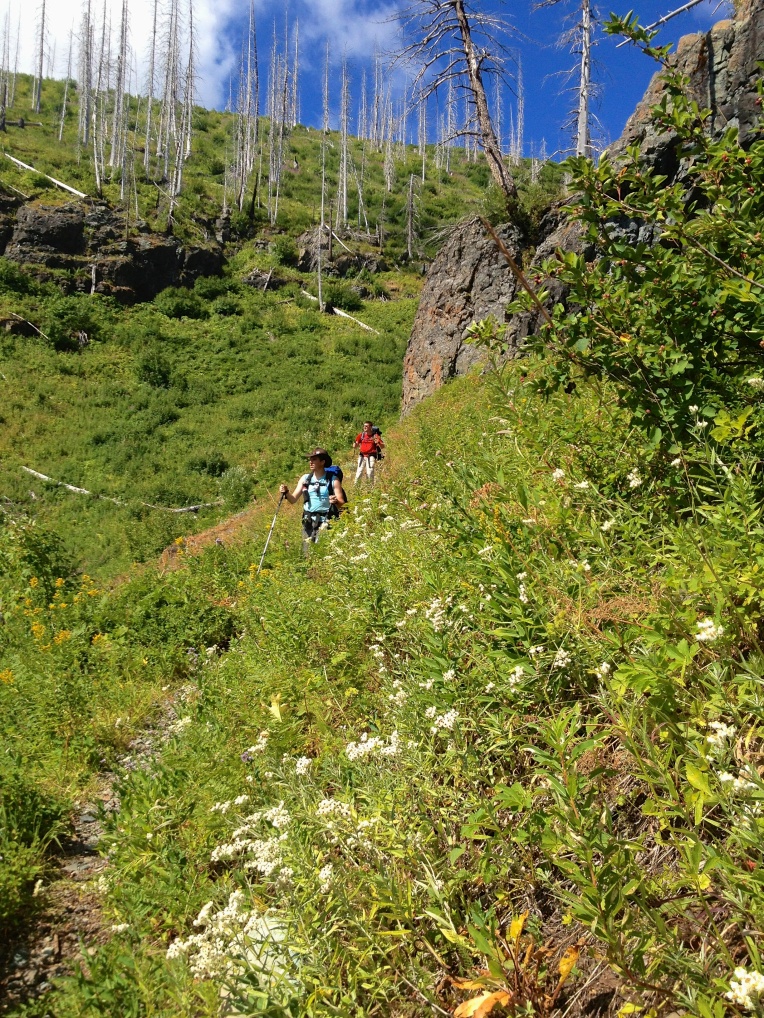
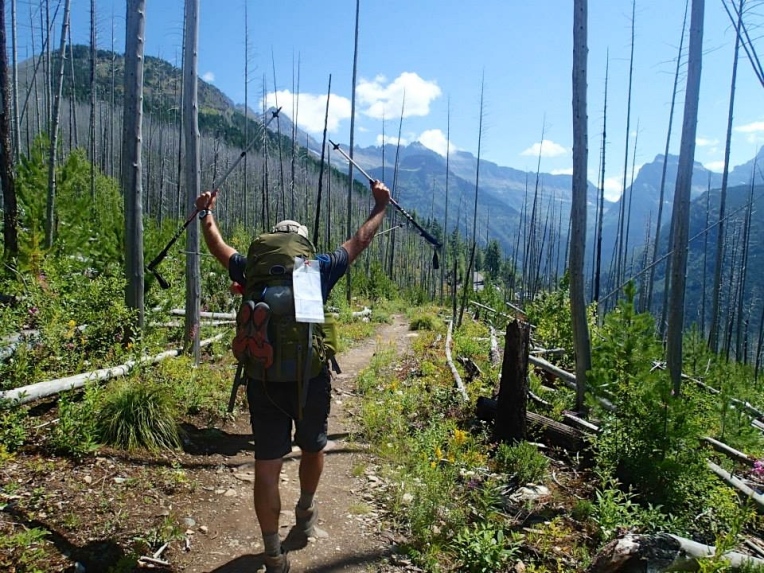
I have to admit that this was my least favorite hike over the eight days.  There were a couple of reasons why.  First, about 90% of the hike was among the scorched pines.  There were two forest fires that ravaged the park a decade ago, burning a third of the park.  If I had to rethink the final leg of this hike I may have opted for Highline Trail.  Second, while even the beauty of my least favorite portion of the North Circle Route is greater than most places I have been in my life, compared to days one through seven Flattop Mountain Trail was definitely not an exclamation point at the end of the trip.

IMG_6743 IMG_6744 IMG_6745

Don’t get me wrong, it was beautiful.  But it just didn’t measure up to the previous days.  I know I kind of sound like a trail snob, and I realize that Flattop Mountain Trail crushes anything in Indiana, but we had been spoiled up to this point.

IMG_6793 IMG_6794 IMG_6918

Once we were finished descending, the hike was still about two miles to the junction.  The junction sign will show Granite Park and Granite Park Chalet to the left.  If you parked in The Loop… this is your turn.  Let me say something about the final ascent.  It is approximately 700 feet and approximately a half-mile.  After hiking 12.5 miles, you may have a second wind as you think about getting into your air-conditioned vehicle.  But just be prepared for the climb.  It seems as if it goes up forever!

The North Circle Route was nothing short of spectacular.  As I mentioned early in this series of posts, it was rated by several blogs as one of the top 10 hikes in the world.  After hiking it I would have a hard time disagreeing.  I would, without question, recommend this hike to serious backpackers.  It is truly a trip of a lifetime.

OLYMPUS DIGITAL CAMERA

As a side note, Arvin’s boots made it.  After the soles breaking out on Day 2 and significant surgery on them throughout the trip… they reached their final destination:  the trash can.

Peace…

Brandon

Montana: North Circle Route- Stoney Indian Lake to Fifty Mountain- Day 7

Stoney Indian Lake to Fifty Mountain

Total Mileage- 8.3 miles

Total Elevation Gain- 2280 feet

Total Elevation Loss- 0 feet

glacier-map route day 7

We had just finished a 33-hour marathon in our tents, as it rained non-stop at 45 degrees at Stoney Mountain Lake in Glacier National Park (Montana).

At 7am the rain finally subsided. We immediately began to break down the tents and pack up all of our gear. By 8am we were ready to begin our hike to Fifty Mountain, which would be all uphill. As we were waiting for a couple of the guys to tie up some loose ends… it began to rain. And then it began to pour again. We had no choice but to begin hiking… praying for some sun along the way.

IMG_6665

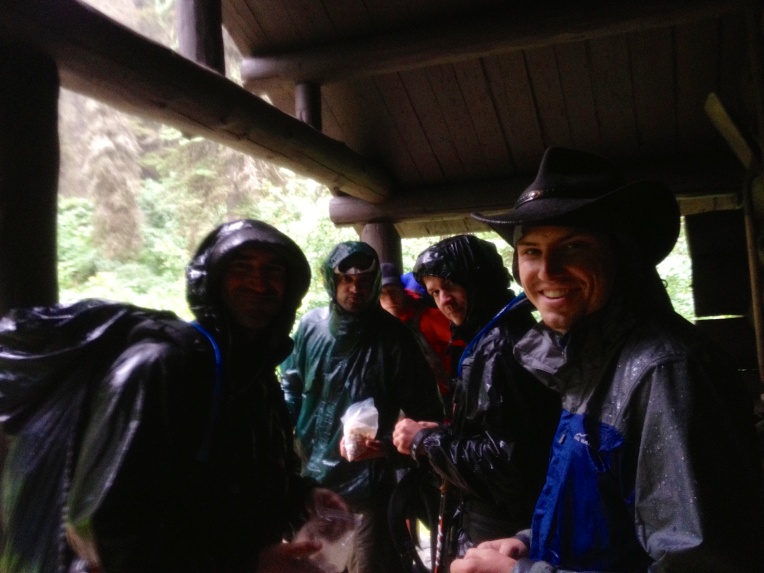
Only about an hour into the hike we saw a small shack (probably used by the Park Rangers), but it was all locked up. We stood on the covered porch, ate a small snack, and watched it rain. Would it ever stop raining?

We continued traveling south on Waterton Valley Trail. It was a gradual ascent and not very taxing. The trail had a significant overgrowth of thimbleberry plants. Yes, we loved eating them but the plants were closing in on us, hugging our upper arms. In one sense it was humorous, but in another sense it was a bit overwhelming- pouring rain and overgrowth closing in on us. At one point I remember stopping and just laughing at how comical it all was. Sure we were “waterproof” but “waterproof” is relative. When you are hiking and moving around in a torrential storm… you are going to get soaked. And we were soaked.

After four hours of hiking through thimbleberries and pine trees we could see light at the end of the tunnel. Our view, which had been significantly limited by the wooded area and overgrowth, opened up into a beautiful alpine panorama. Welcoming us was a cloud covering that slowly began to open, teasing us with a few rays of light. While we were excited to see the sun attempting to break through, we were even more excited that the rain stopped. We approached what looked like an old stone foundation and began to shed our wet gear. We were beyond excited with the rain stopping and the sun breaking through, while standing in one of the most beautiful areas of the trip.

OLYMPUS DIGITAL CAMERA IMG_6669 IMG_6674

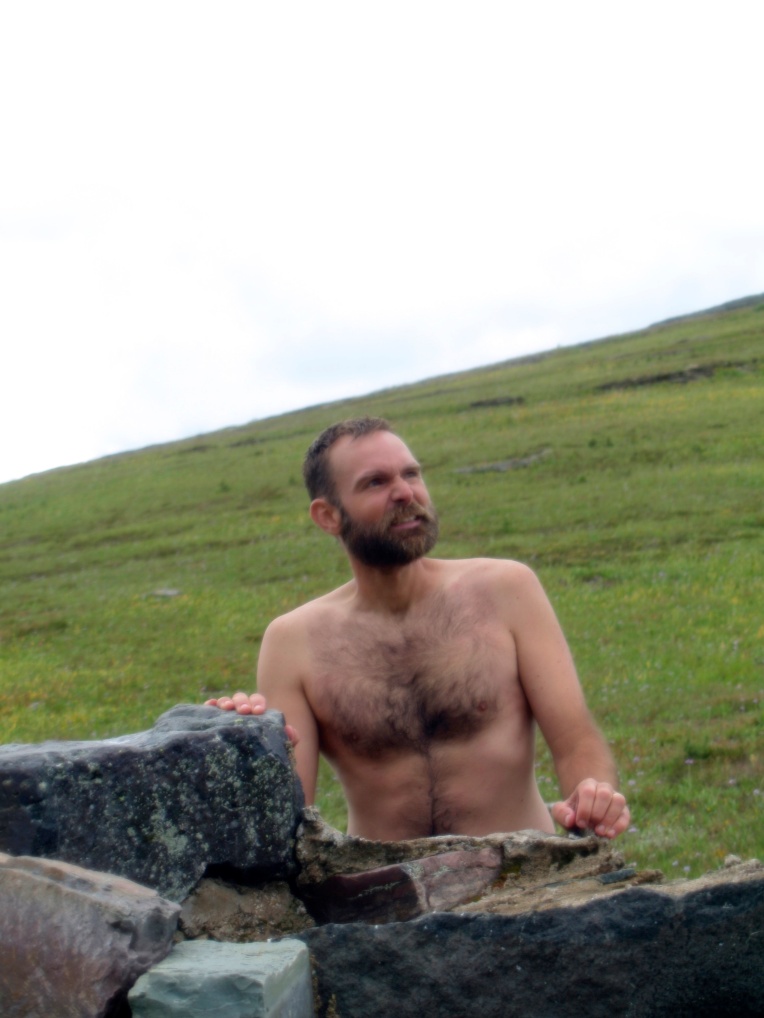
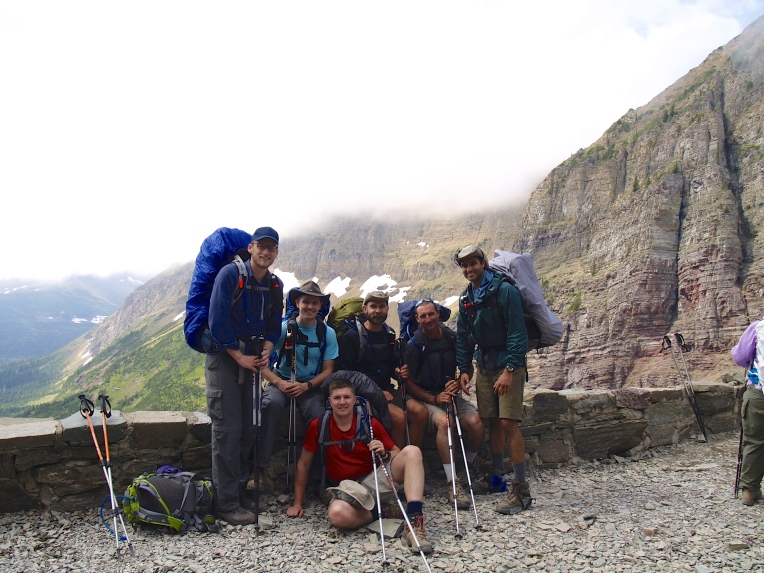
OLYMPUS DIGITAL CAMERAOur stop at the stone foundation lasted about an hour and a half… and we dried out as much as we could. I even stripped down behind the stone wall to dry out. The good news was that we were only about a half mile from our camp at Fifty Mountain. And the way the weather was changing, it looked as if we would have the best day yet.

IMG_6677 IMG_6679 IMG_6684 IMG_6688 IMG_6692 IMG_6696

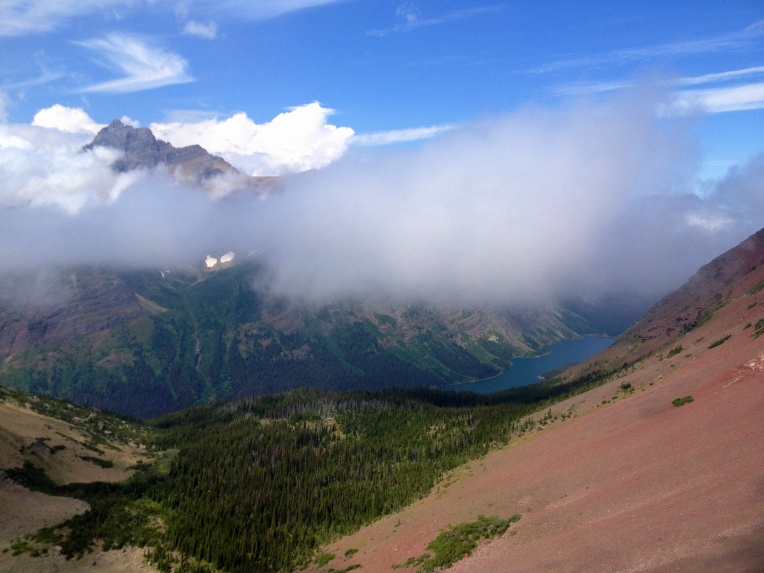
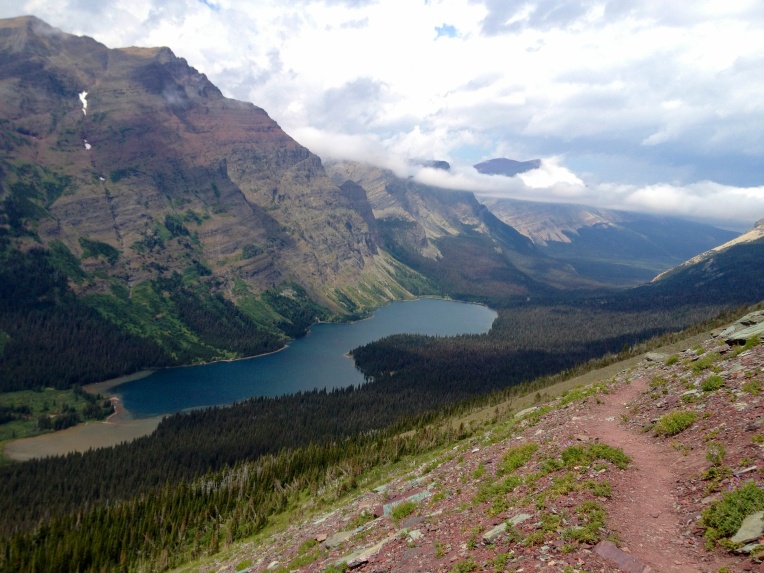
The hike to Fifty Mountain campsite was a real treat, especially with blue skies making their appearance behind the retreating clouds. This is what we had been waiting for after 37 hours of rain. And it was the perfect place to have a beautiful day.

IMG_6707 IMG_6711

IMG_6778The Fifty Mountain campsite has the same three main areas as the other backcountry campsites: tent areas, food eating and storage area, and a single outhouse. You can begin to see some of the aftermath of the two forest fires that devastated Glacier a decade ago. This became even more evident on Day 8 as we hiked out of the park. You could tell that the undergrowth was rebounding but the pines looked like skeletons.

IMG_6714 IMG_6715 IMG_6716 IMG_6719 OLYMPUS DIGITAL CAMERA IMG_6720 IMG_6723 IMG_6724 IMG_6726 IMG_6727

That evening we hiked into the open meadow area and sat on a large boulder and just took in the experience. After about thirty minutes we hiked up a small hill that presented the greatest 360 degree panorama that I have ever seen in my life. Pictures do not do it justice. If you are ever at Fifty Mountain do some short hikes and look for views. For the most epic view, take a hike up Mount Kipp for an experience you will never forget.

In the next post I will be detailing the final leg of our hike from Fifty Mountain along Flattop Mountain Trail to the parking lot at The Loop.

Peace…

Brandon

Montana: North Circle Route- Stoney Indian Lake- Day 6

We did not hike on Day 6.  We were stuck at Stoney Indian Lake in Glacier National Park, Montana.  Here is the story.

We went to bed at Stoney Indian Lake around 10pm and that is when it began to rain.  We could tell by looking at the sky that evening that something was brewing.  But without any sort of communication or the ability to check on our iPhones, we didn’t know if/when it would come or how long it would last.

It poured all night long.  And the temperature bottomed out around 45 degrees.

At around 7am I could tell that water was pooling outside of our three-man tent.  Sure enough we set the tent up in somewhat of a depression where water would run and collect.  There was probably an inch and a half of water around the tent.  We quickly exited the tent and relocated it atop a large rock that drained quite well.  Unfortunately during the relocation we got soaked and cold.  We hopped into the tent fully clothed with boots and sat patiently waiting for the storm to pass.

IMG_6664

But it didn’t.  It continued to pour.

Fortunately for the guys in the other tent, they were on higher ground, which meant (for the time being) they were dry and content staying in their tent.

After a couple of hours sitting uncomfortably in my tent, I suggested to the other two guys that we should probably plan for an extended stay.  So to that end, we began to clean the tent, set up our sleeping pads and sleeping bags, and organize our wet stuff.  At least this way we would be able to lie in our sleeping bags and warm up, which we did.

When a person is enclosed in a tent for hours, wide-awake, there is plenty to talk about.  And so we talked.

What is the plan?  Do we pack up in the pouring rain and hike to our next destination?  Do we stay put until it stops raining?  Will it ever stop raining?

We surmised that the safest plan was to stay in the tent where we knew, at least, we were warm and dry.

Setting out to another destination on a cold, rainy day was a little risky.  Sure, as a casual observer you may say, “Are you afraid of a little cold and a little rain?”  And I can understand that perspective.  But there were several factors that we consider before making our decision:

We had no way of checking to see how long the storm was going to last, so we continued to wait to see if it would finally break.  As a result, we waited until mid-afternoon… and it was still pouring.  At that point, if you begin to hike you will, no doubt get soaked, but also arrive at the next destination in the late evening when the temps have dropped again.  Being that we were not allowed to build a fire in the backcountry, one has to consider how to get dry and warm in such a situation.  All of our gear would likely be soaked from a four to five hour hike in the pouring rain even with waterproofing (yes, it was coming down that hard).  In our minds it was too much of a gamble to risk hypothermia by attempting the hike.  If one of us got hurt or exhibited the signs of hypothermia… how would we call for help?  We couldn’t.  We didn’t have any cellular signal and the closest emergency help was a 15 to 20 mile hike away (a 7.5 to 10 hour hike).  For proper perspective, we were far in the backcountry close to the Canadian border in Montana.  In our minds, the most logical and conservative decision was to stay another night at Stoney Indian Lake.

We discussed it with the guys in the other tent and they agreed.  They had war-gamed the same scenario.

And it turned out to be the correct call.  At about eight o’clock that night a hiker approached our tent and asked, “Do any of you know the signs of hypothermia?”  We said that we did.  He went on to tell us that his fellow hiker was coming down from the pass as we spoke and was potentially exhibiting the signs of hypothermia.

This is exactly why playing it safe is so important.

We went to sleep the next night hoping and praying that the rain would break during the night and that the sun would be nice and warm the next morning.

At 7am we looked outside of our tents and saw that it had indeed stopped raining.  We quickly began breaking camp and packing up the wet gear as quickly as we could.  When we were packed and just waiting on a couple of guys to finish a quick breakfast… it began to rain.

And so it rained and poured.  From 8am until noon, we hiked to our Day 7 destination.

But as it would turn out, our incessant prayers were being answered.  Not only did the rain stop when we reached the mountaintop… the sun began to break through the clouds and the wind began to blow.  It was the perfect opportunity to lay out ALL of our gear to dry.  As it turned out, Day 7 would be the most epic day of all.

Day 6 was a real challenge in many ways… but the biggest challenge was the loss of control.  Many times when we go on our backcountry trips, we have researched and researched and planned and planned… so much so that there is very little we haven’t considered.  In many ways we always feel as if we have everything in our control.  When the temps dropped and it began to rain, I realized that I had very little control over the situation.  The only thing we could really control was staying in the tent.  At least there we could control staying warm and dry.

So what did we do for 33 hours in a tent?  Sleep and talk and sleep.  What would you do?

IMG_6662 IMG_6663In the next post I will detail our hike from Stoney Indian Lake to Fifty Mountain.

Peace…

Brandon

Montana: North Circle Route- Mokowanis Junction to Stoney Indian Lake- Day 5

Mokowanis Junction to Stoney Indian Lake

Total Mileage- 5.7 miles

Total Elevation Gain- 2410 feet

Total Elevation Loss- 1000 feet

glacier-map route Day 5

Our hike for the day was from Mokowanis Junction to Stoney Indian Lake, which included a significant ascent to Stoney Indian Pass and then down to the beautiful lakeside camp at Stoney Indian. While the morning began with sunshine and clear skies, the evening would bring an overcast sky setting up for 38 hours of rain.

IMG_6590 OLYMPUS DIGITAL CAMERA

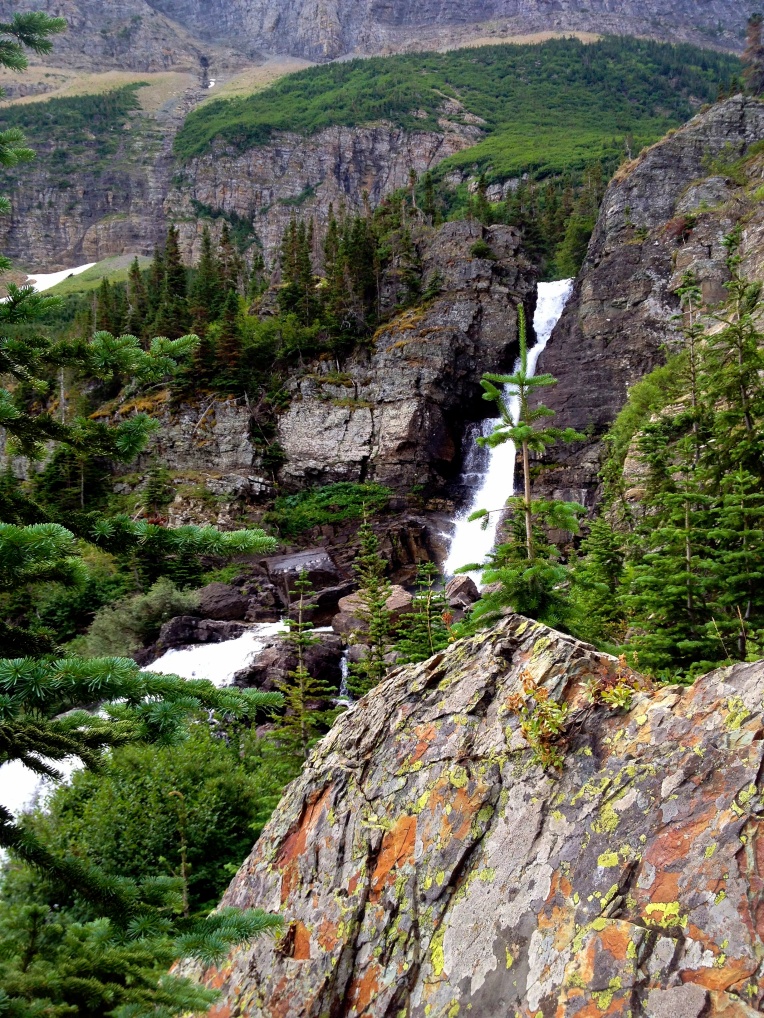
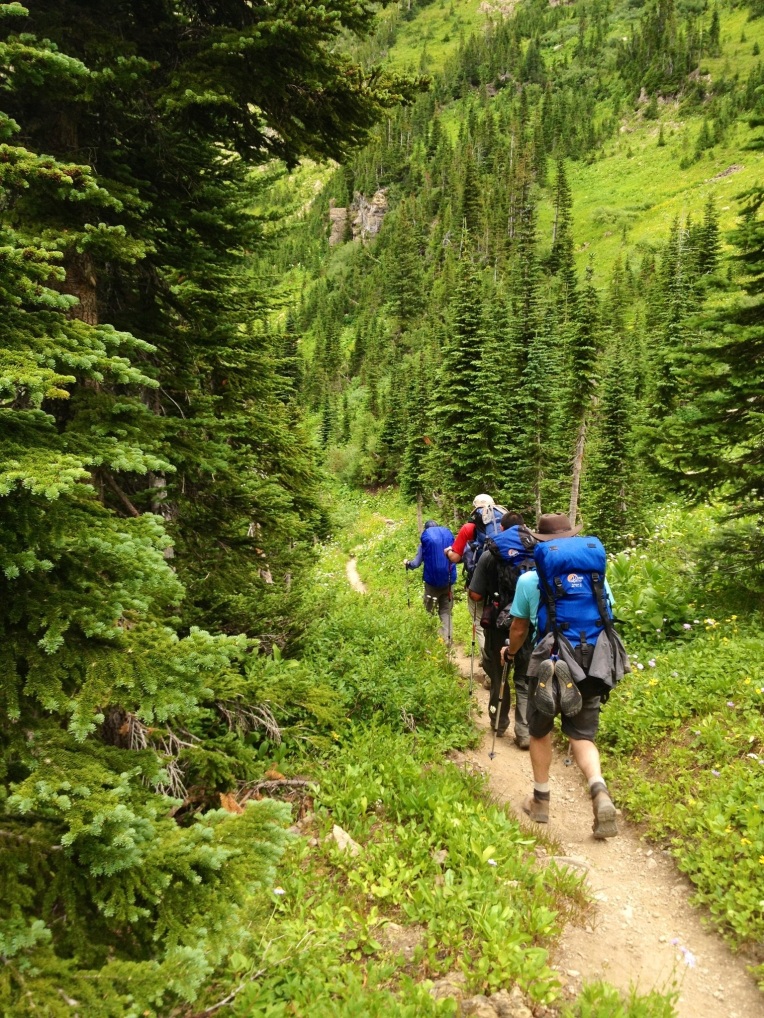
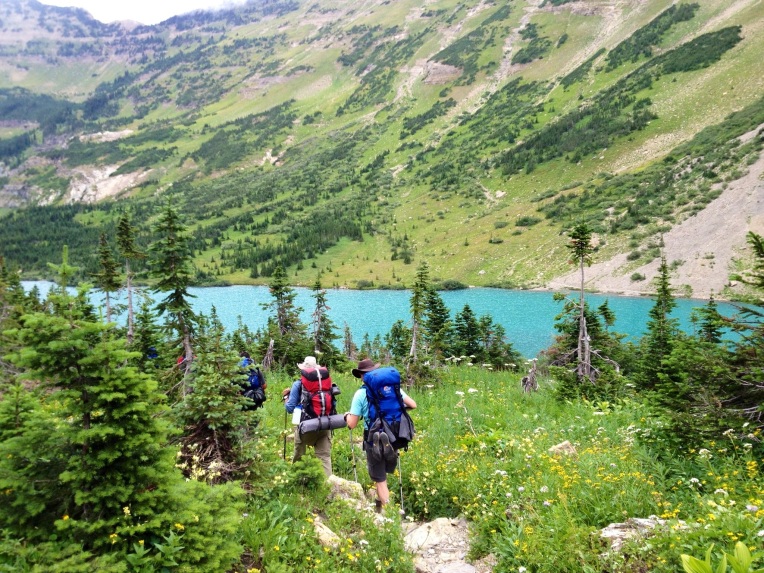
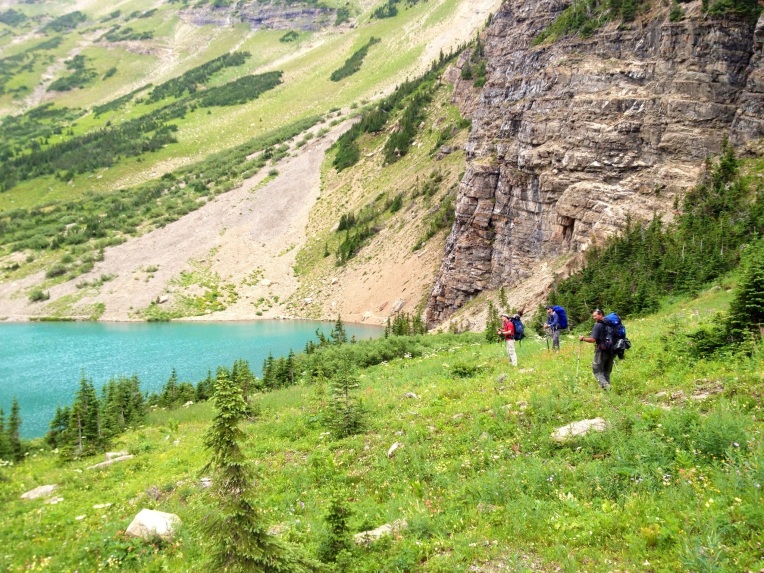
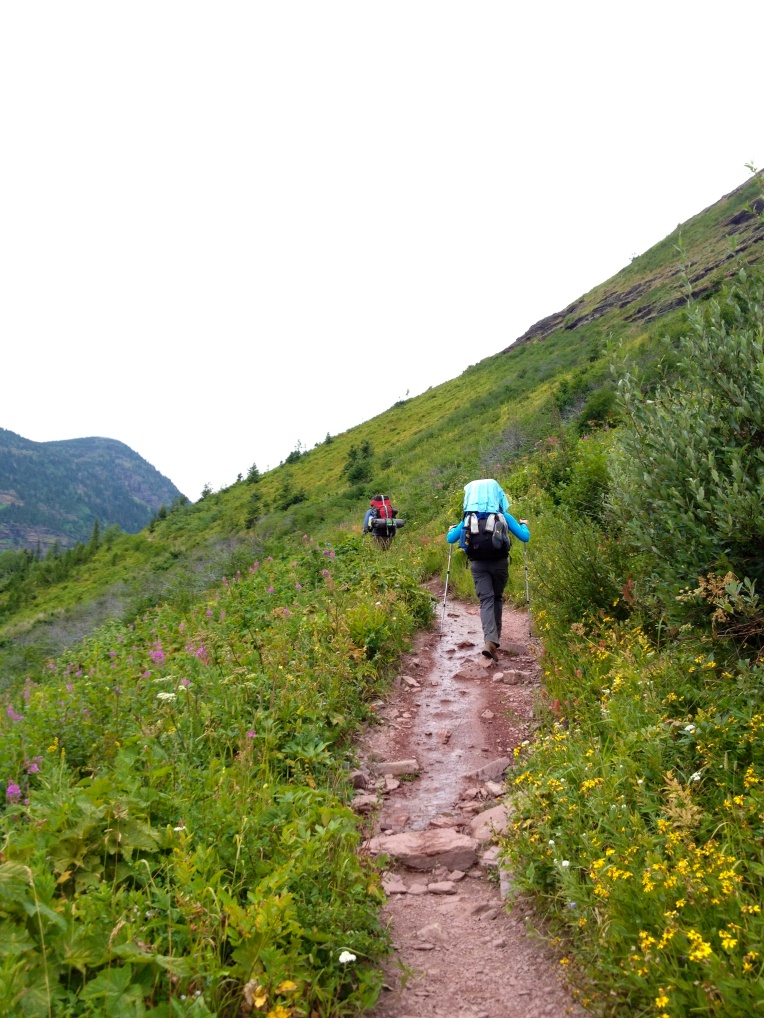
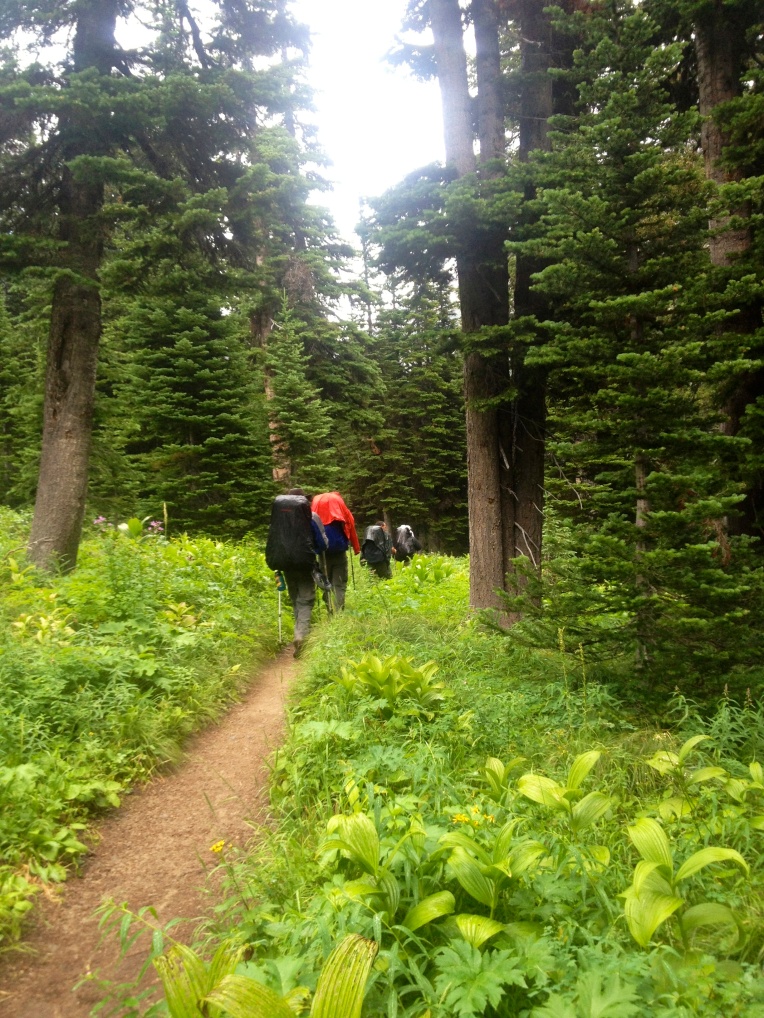
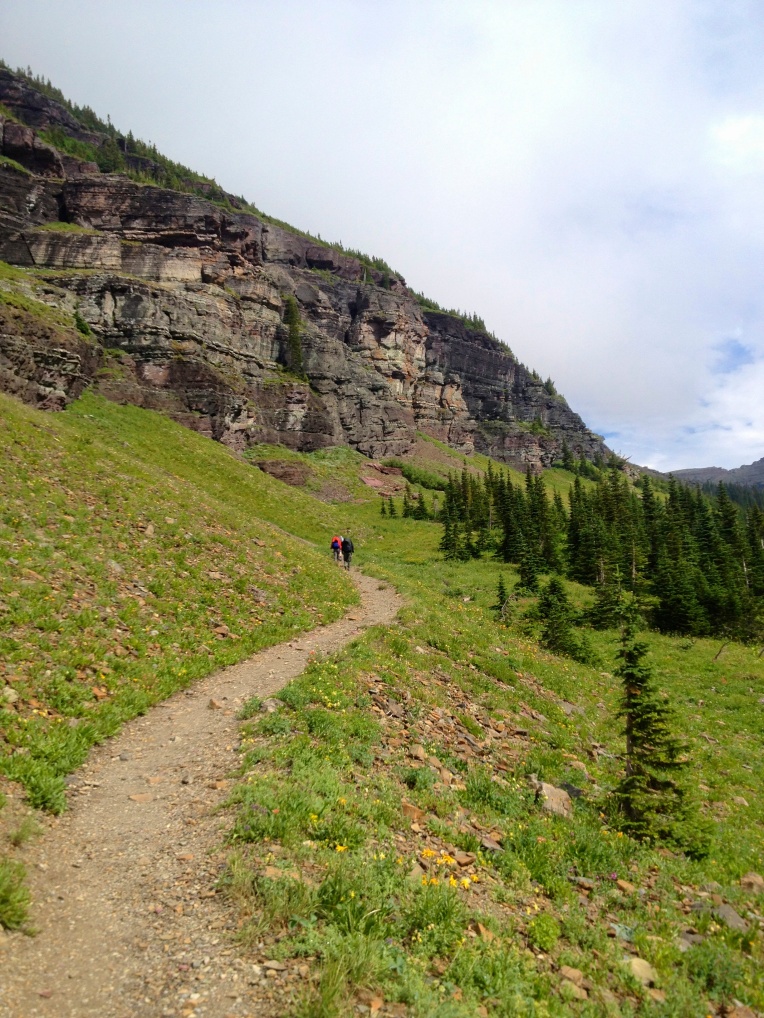
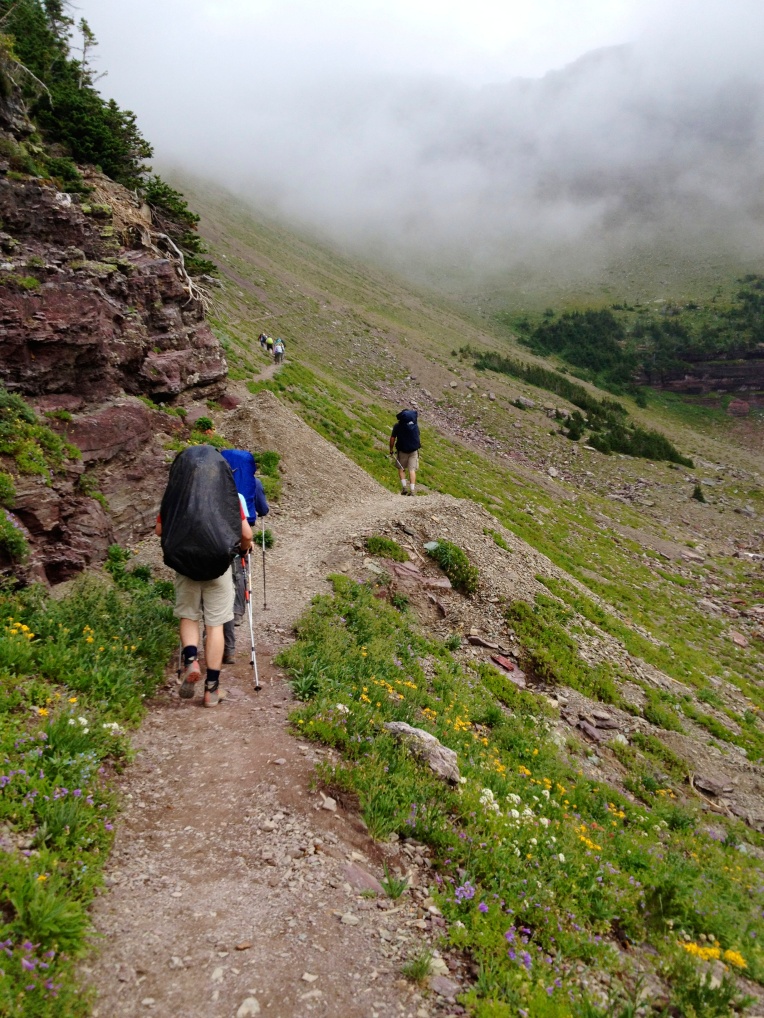
OLYMPUS DIGITAL CAMERA IMG_6595 IMG_6599The trek from Mokowanis took us passed some magnificent waterfalls, hillsides of wildflowers, and a spectacular view of the valley looking to the northeast.

IMG_6603 IMG_6615

Did I mention the ridiculous waterfalls?

IMG_6625 IMG_6626

It seemed as if the more elevation that we covered… the more beautiful it became. We got to the point on this trip that we stopped using adjectives to describe how “beautiful” or “amazing” a view was. It is almost as if we cheapened it by speaking. So when we would stop and stare at a view, we would just stand there in awe… looking at each other and shaking our heads. It is hard to imagine a more glorious place for a weeklong hike.

OLYMPUS DIGITAL CAMERA IMG_6631

IMG_6636Before reaching the pass there was a debate as to where to eat lunch. Patrick went high and everyone else stayed low. Let’s be honest… you couldn’t go wrong at either spot!

IMG_6858 IMG_6640

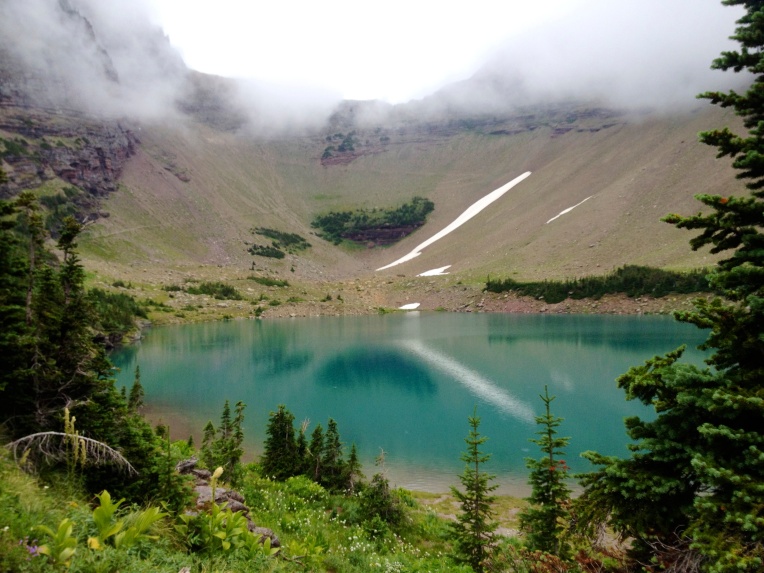
We reached the pass and stood there for a while looking at the crystal blue Stoney Indian Lake. The only thing in between us and our camping spot for the night was a 1000 foot drop via switchbacks down the mountainside.

20130826-114434.jpg

20130826-114302.jpg

20130826-114601.jpg

Once you reach the lake it is a short hike around the lake to the campsites. There are about four spots to camp at Stoney Indian Lake. Based upon experience, which I will detail in my Day 6 post, make sure that you do not set your tent in an area that may potentially pool water when it rains.

20130826-115610.jpg

20130826-115714.jpg

There are really great spots to do some cliff jumping into Stoney Indian Lake. The lake is very deep in many area but make sure you get in the water first to check it out before jumping. Only one in our contingency jumped because the water was so cold and they air temperature was dropping.

Also, a bear walked through our camp right passed us. No joke… within 10-15 feet. We cleared the area and watched as the bear circled through the camp. We all had our bear spray handy but this incident underscores the importance of NOT HAVING FOOD OUT IN THE OPEN. A couple of young ladies arrived at the camp only 30 minutes prior and had the equipment and food strewn about. The bear likely smelled it and came to investigate. While the bear didn’t get any of the food… they promptly stored their food in the metal food storage area. Bears are no joke. Take them very seriously.

In the next post I will be detailing our 33 hours in our tent at Stoney Indian Camp.

peace…

brandon

Montana: Glacier National Park- North Circle Route- Elizabeth Lake FT to Mokowanis Junction- Day 4

Elizabeth Lake FT to Mokowanis Junction

Total Mileage- 8.7 miles

Total Elevation Gain- 298 feet

Total Elevation Loss- 290 feet

glacier-map route Day 4

Elizabeth Lake was something special. We spent hours on the finely crushed rock beach just looking at the lake and at the stars. Even the next morning we moved all of our gear to the beach to dry off the morning dew. It was great to have such a warm and clear morning. This was just a foretaste of our 8.7 mile hike from Elizabeth Lake to Mokowanis Junction. We didn’t have any significant elevation between the two locations and so we planned to have a leisurely stroll. Our route began with Ptarmigan Trail and then connected with Stoney Indian Pass Trail, which we followed southwest to Mokowanis.

OLYMPUS DIGITAL CAMERA

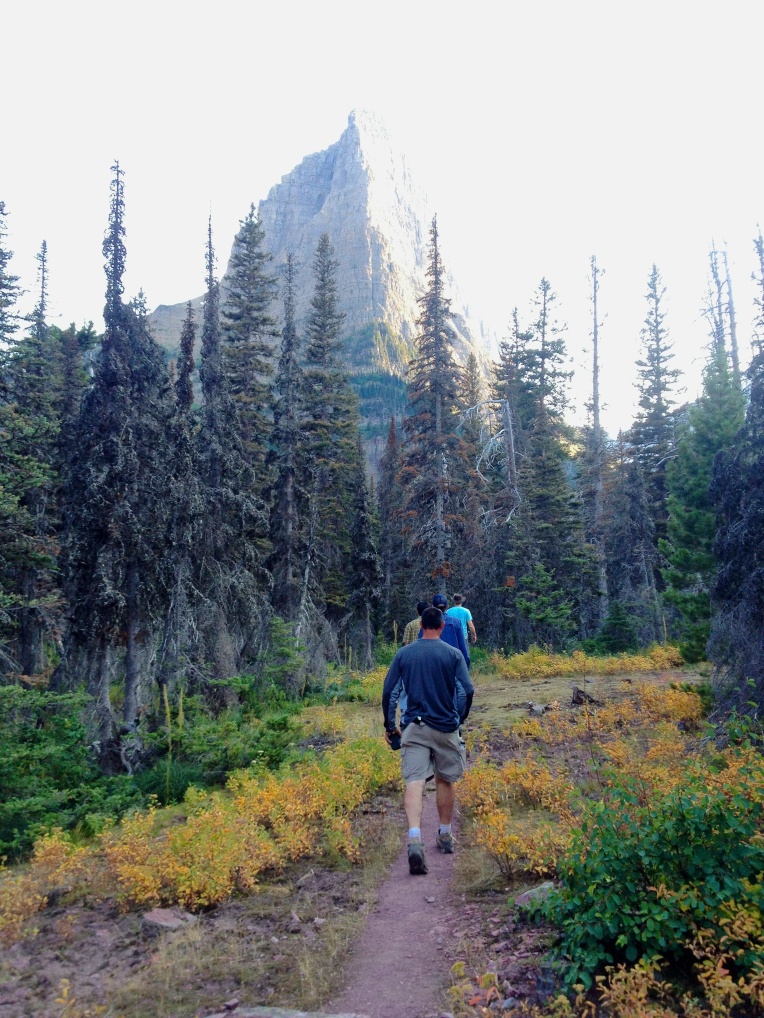
IMG_6548This final portion of Ptarmigan Trail is a dirt path and takes you gently among the pines. This is the kind of trail that you just have to stop occasionally, close your eyes, and breathe deep. If this doesn’t recharge your batteries and stir your soul… you aren’t human. Dawn Mist Falls will be on your right when you have traveled about a mile from camp. Drop your packs and hit the side hike to see the base of the falls.

IMG_6551 IMG_6552

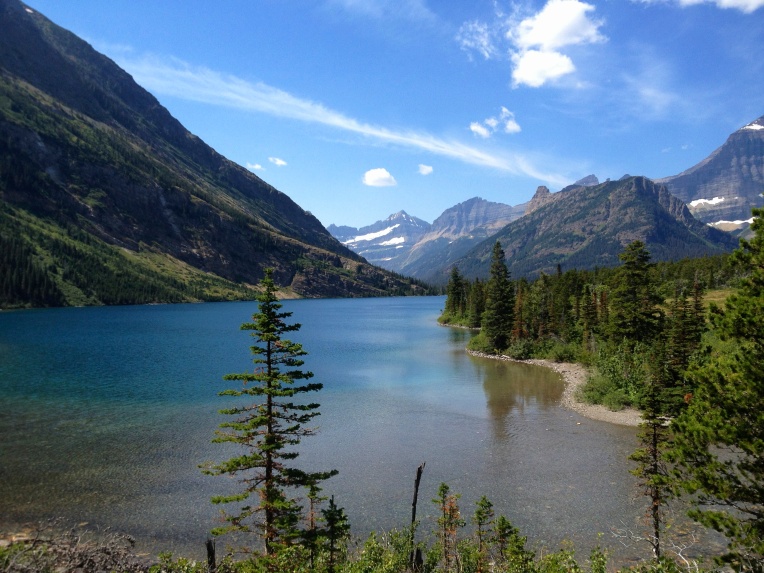
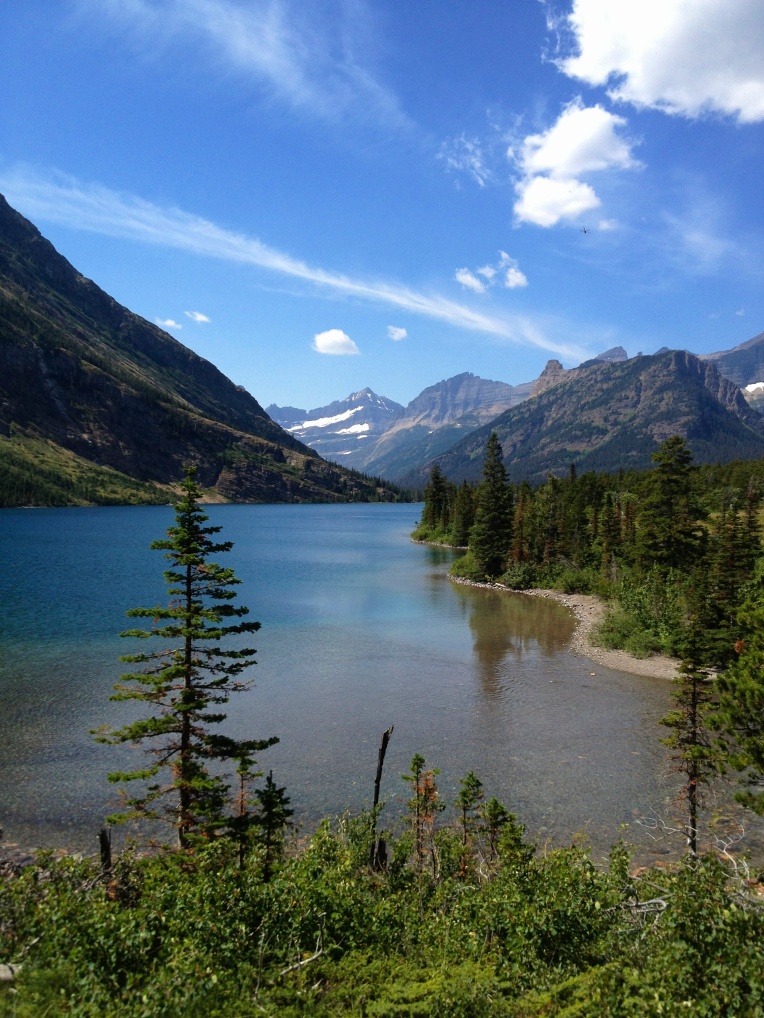
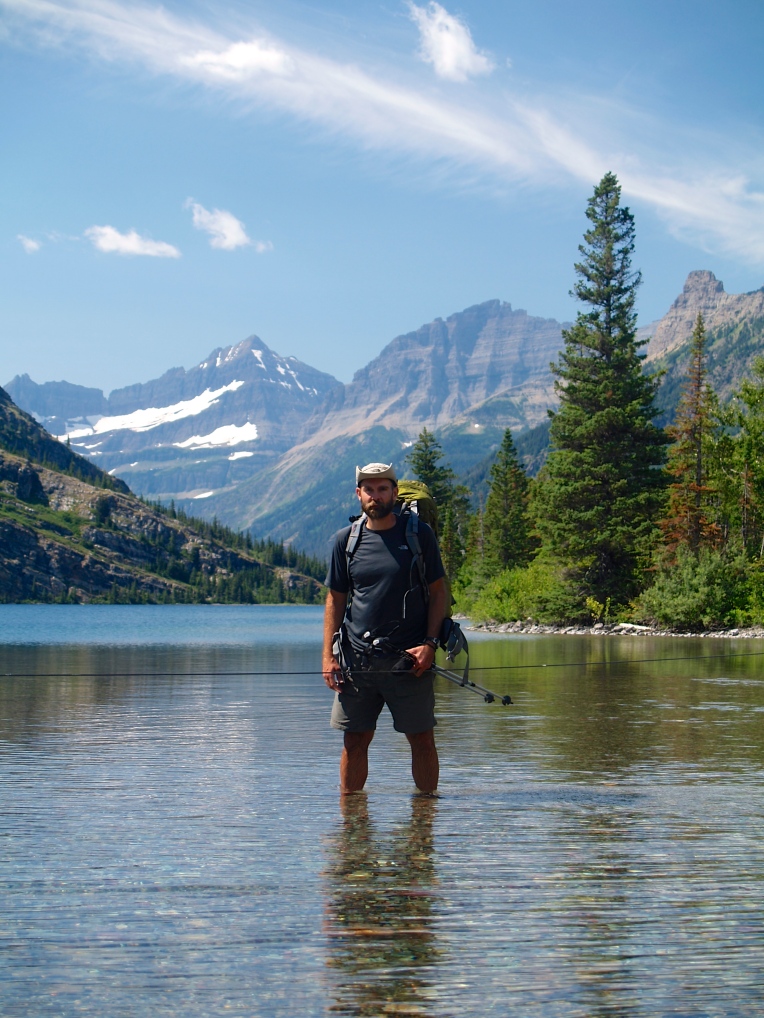
OLYMPUS DIGITAL CAMERA IMG_6555 IMG_6558 As you approach the junction with Indian Pass Trail be prepared for some of the most glorious views on earth. Cosley Lake comes into view on your left… and you have to take some pictures. You will see a guide line stretched from your side to the beach on the other side. The stream that pours into Cosley isn’t very fast moving but it was about knee deep. I tied my boots onto a carabiner on the back of my pack and put on my Merrell Barefoots and crossed. What a stunningly beautiful place.

IMG_6560 IMG_6559

We decided to take a break for lunch another mile down Stoney Indian Pass Trail. There is a really nice beach area at one of the campsites at the head of Glenns Lake. If you are going to take your lunch break here make sure that you eat in the designated food area… and then enjoy a swim in the crystal blue waters of Glacier National Park.

IMG_6561 IMG_6562 IMG_6563 IMG_6566 IMG_6761 IMG_6792

Indian Pass Trail hugs Glenns Lake until you reach Mokowanis Junction. Along this route it opens up a few times for some great shots of the lake, takes you across a few creeks, and introduces you for the first time to the Thimbleberry plant (edible by the way).

IMG_6572 IMG_6574 IMG_6576

Mokowanis Junction campsite is in the woods with no water view. It was likely our least favorite spot to camp BUT every single spot in this park is incredible… so it is relative. Once you set up camp and get your food secured… take a hike down toward Mokowanis Lake. You will cross a creek that pours into Glenns Lake. Continue on the trail and you will see Pyramid Peak directly in front of you. Another half-mile and Mokowanis Lake and Mokowanis campsite comes into view. If you head right off of the trail there is an amazing ledge that overlooks the lake with an amazing falls on the other side. Don’t miss this. It is amazing.

In the next post I will be detailing our hike from Mokowanis Junction to Stoney Indian Lake.

Peace…

Brandon

Montana: North Circle Route- Many Glacier to Elizabeth Lake FT- Day 3

Many Glacier to Elizabeth Lake FT

Total Mileage- 10.10 miles

Total Elevation Gain- 2480 feet

Total Elevation Loss- 2518 feet

glacier-map route Day 3

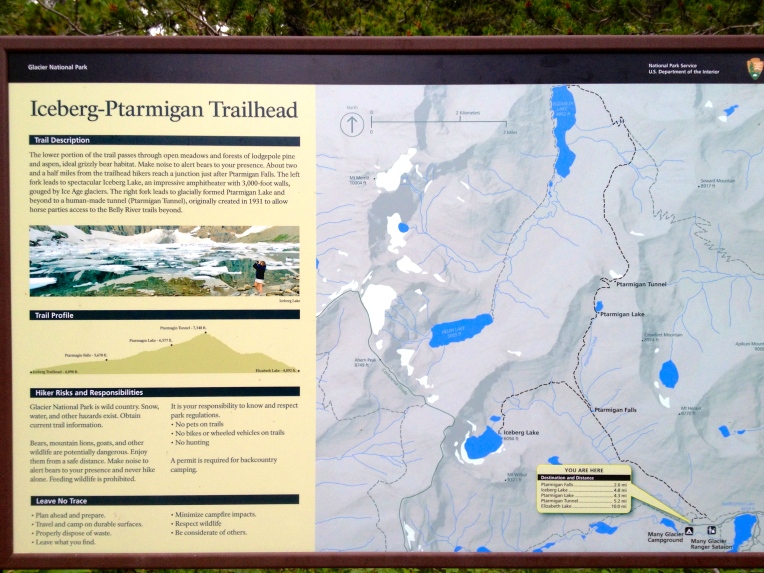
We packed up early at Many Glacier as we had over ten miles and significant elevation in front of us. Day 3 would have us traveling Ptarmigan Trail over 2400 feet up to Ptarmigan Tunnel, which is a very cool spot, and then descending down to Elizabeth Lake.

IMG_6414

Leaving Many Glacier we saw Ranger led tourist groups who would be traveling the same trail up to Ptarmigan Tunnel. Ptarmigan Tunnel is the last location along the remainder of the North Circle Route where we would encounter day hikers and tourists.

The morning began a bit overcast and we were confident that we would eventually run into some rain at some point. Needless to say that we had our pack covers and rain jackets readily accessible. Ptarmigan Trail is heavily used and well-maintained. Our ankles and knees appreciated the fine, dusty dirt trails. In the days to come the trails would not be so well-maintained… primarily because they do not get as much traffic and there is significant plant growth over the trails… but more on that in another post. For now, we are enjoying the gradual ascent up to the tunnel.

IMG_6420 IMG_6435 IMG_6437 IMG_6438

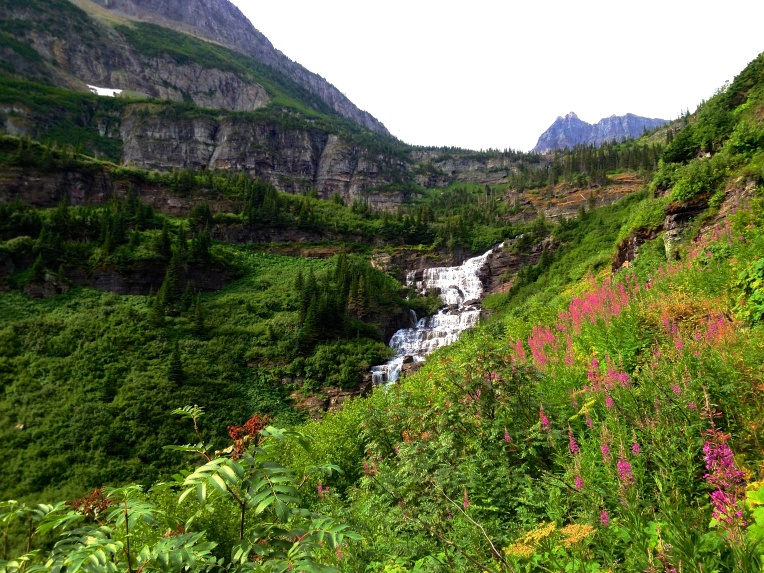
Once Ptarmigan Lake comes into view the tunnel does not seem to be very far away, but it is still a couple of miles and several mountainside switchbacks away. The switchbacks offer a beautiful southern facing view of Ptarmigan Lake and Mount Wilbur in the distance. Make sure you stop along the switchbacks to take it all in… it’s spectacular.
IMG_6442 IMG_6445 IMG_6448 IMG_6458

OLYMPUS DIGITAL CAMERA IMG_6854 OLYMPUS DIGITAL CAMERA IMG_6478Ptarmigan Tunnel is passed the half-way point from Many Glacier to Elizabeth Lake. Passing through the tunnel has a real sense of accomplishment and, at least to me, signified the break between day hiking and backcountry backpacking. We stopped for a significant lunch break and took the opportunity for some pics and for some fun. You will notice the cloud cover hovering just above our heads. As we descended Ptarmigan Trail the clouds began to break… opening the skies for some much needed sunshine.

IMG_6480 IMG_6482 IMG_6489 IMG_6499 IMG_6502 IMG_6509 IMG_6514 IMG_6521

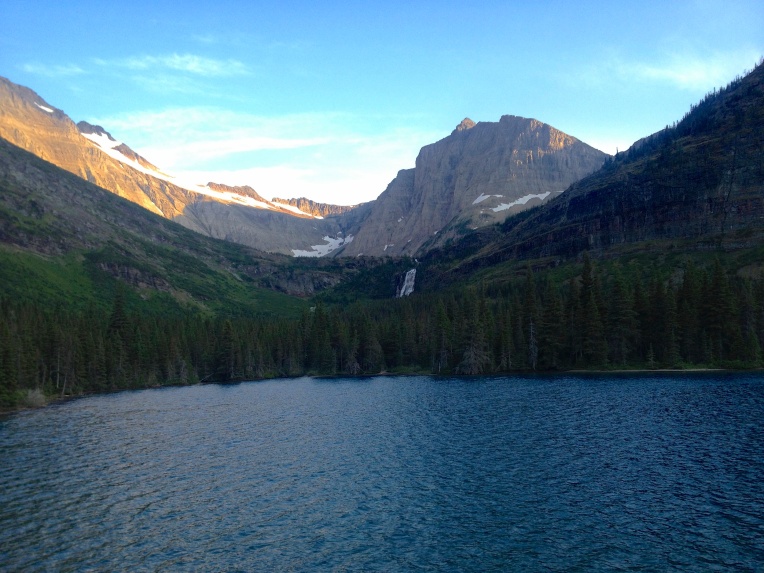
IMG_6827At this point the trail was composed of a fine, brick-like rock which was, again, easy to hike. As we started down this portion of the trail we could see Elizabeth Lake coming into view. I remember stopping and saying, “This spot may be the most beautiful place I have ever been in my life.” I would subsequently say the same thing later that evening at Elizabeth Lake and then again at Fifty Mountain on Day 7. Pictures are so inadequate.

The Elizabeth Lake FT campsites are located on the north side of the lake, which is closest to the trail. If you are staying at the campsites labeled as Elizabeth Lake… they are at the south end of the lake, which adds an additional mile to your hike as you can only arrive there by first passing Elizabeth Lake FT and then hiking southward around the lake.

IMG_6525

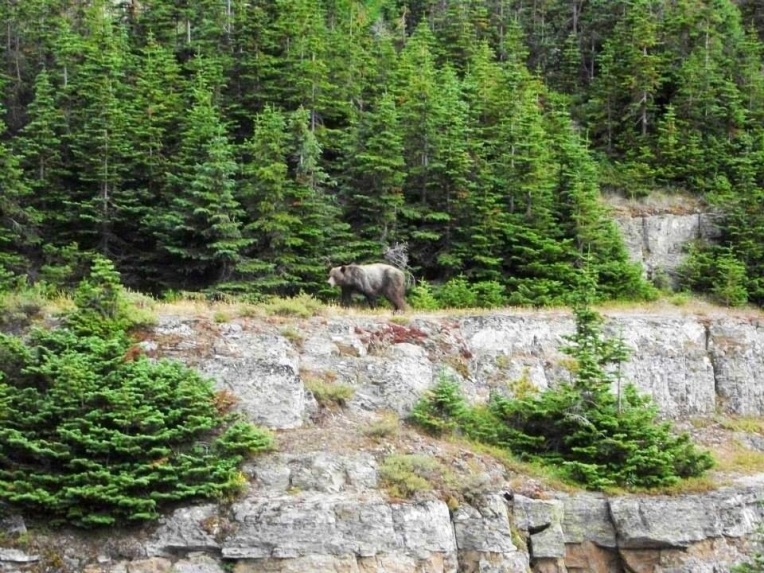
At this point I should note a couple of things. You are now legitimately in the backcountry. Please take ALL precaution with your food. Immediately store your food in the metal bins in the eating area and DO NOT leave your food unattended even for a split second. A few hundred yards from our camp (but only 50 feet from us) we saw a very large grizzly. Fortunately we had been making enough noise that he wasn’t alarmed and he subsequently moved along. The animals WILL come into your camping areas to take your food. Early the next morning as we were packing up a Ranger approached us and asked for our permit and also asked where our food was located. We told him that we had already put it in our packs so we could leave. Six out of seven of us had our packs with us so this wasn’t a problem. Unfortunately one guy in our group had packed his food but left his backpack unattended by our tents. The Ranger reprimanded him for his carelessness and told him/us that we could very easily write a citation for the offense.
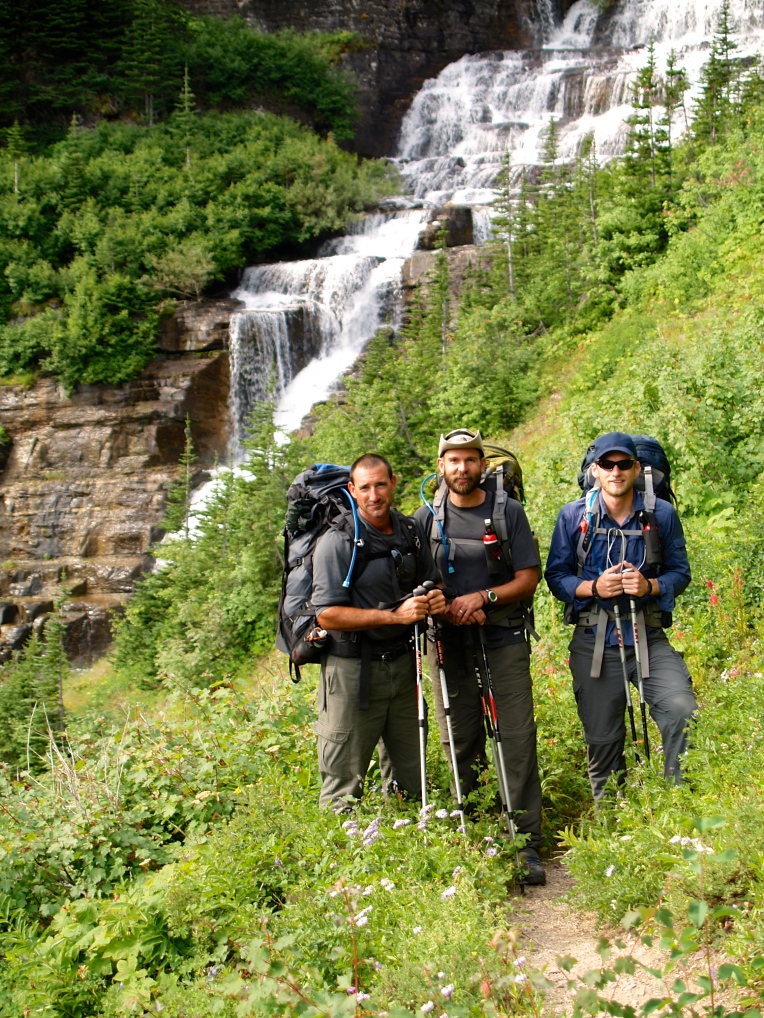
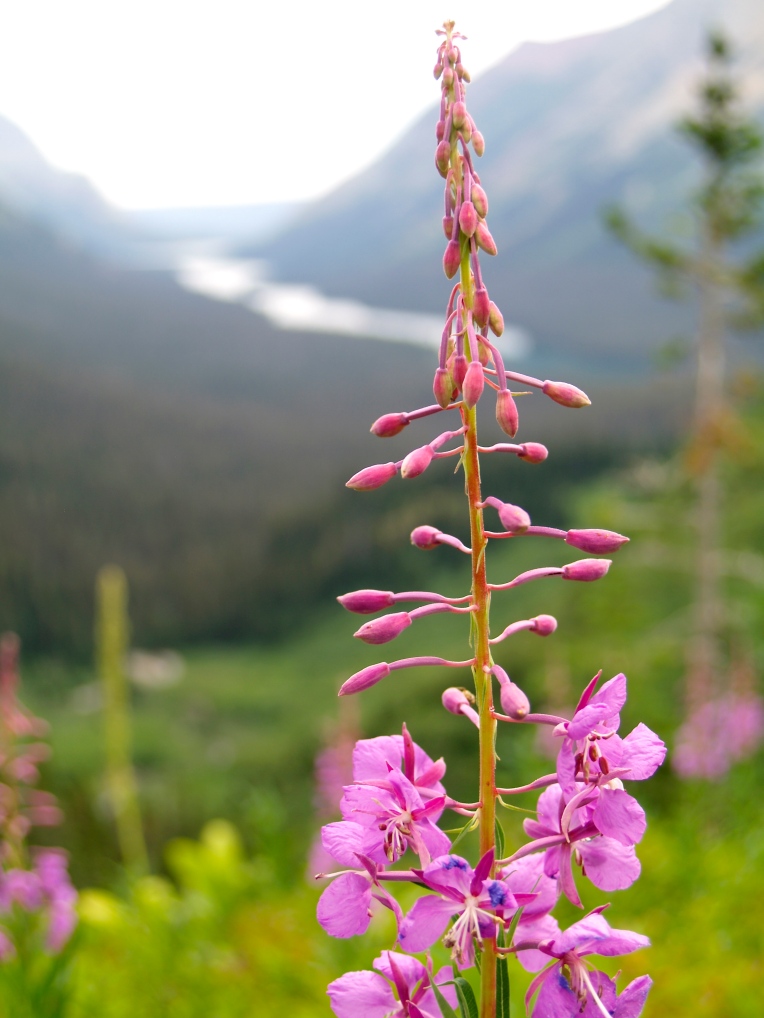
He spent thirty minutes with us telling us stories as to why it is essential that we always keep our food with us or stored away. The most notable reason is that once a bear eats food in the camping vicinity, the park has to close down that area for over two weeks so that the bear will no longer connect that area with food. For the sake of the bears and for the sake of future backcountry campers, take all necessary precautions with your food.

I hope that you enjoy Elizabeth Lake as much as we did.

In the next post I will be detailing our hike from Elizabeth Lake FT to Mokowanis Junction.

peace…

brandon