Alaska: Wrangell-St. Elias National Park- Iceberg Overlook to Iceberg Lake- Day 5

Alaska: Wrangell-St. Elias National Park- Iceberg Overlook to Iceberg Lake

Total Mileage- 6.04 miles

Total Elevation Gain- 891 feet

Total Elevation Loss- 1889 feet

Screen Shot 2018-12-08 at 8.32.22 PM

Screen Shot 2018-12-08 at 8.48.54 PM

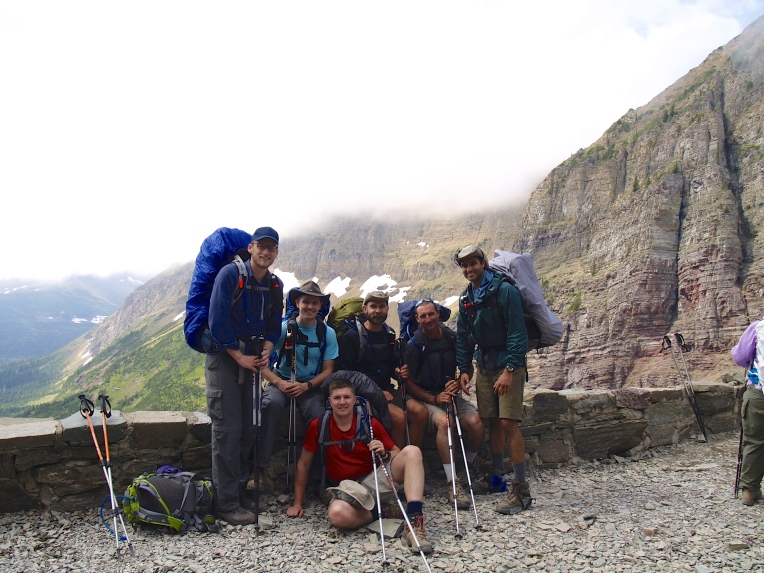
Day 5 in Wrangell St. Elias National Park in southeast Alaska started with a day hike and ended with our trek to Iceberg Lake where the bush plane would be picking us up on day 7. Logistically there was a discussion on how we would play day five. From Iceberg Overlook (where our camp was set) we definitely wanted to do a day hike to find a hidden lake that had Patrick and Josh obsessed. But after the day hike, we discussed camping one additional night on Iceberg Overlook because it was just such a stinking great spot, likely one of my favorite campsites on any trip. But, with some rain likely late in the afternoon we decided to go ahead and make our break toward Iceberg Lake after the day hike.

IMG_4288IMG_0137

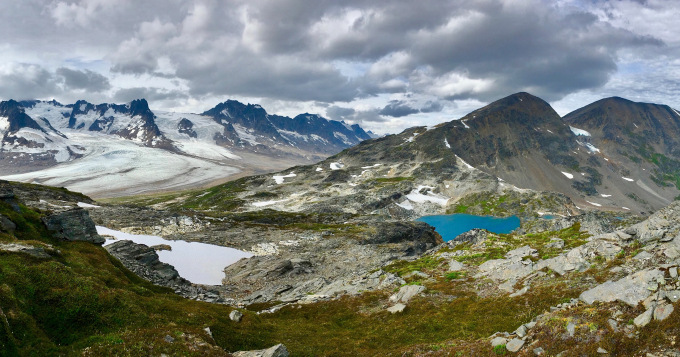
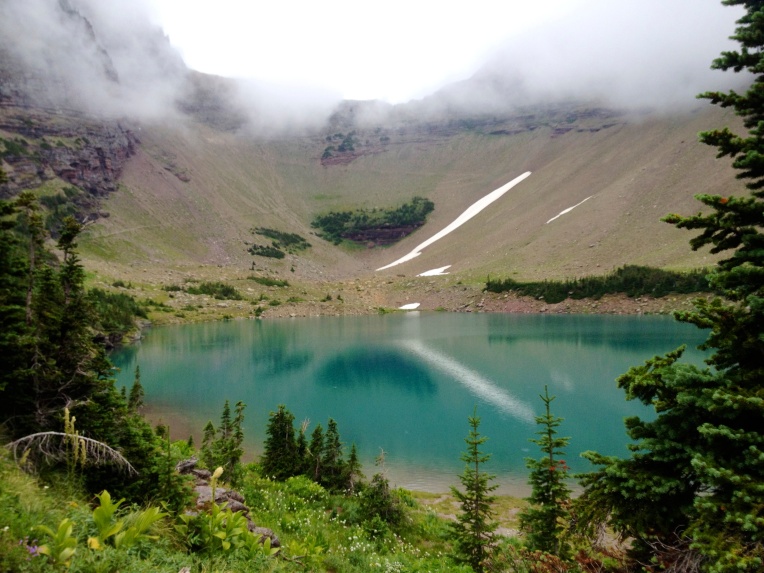
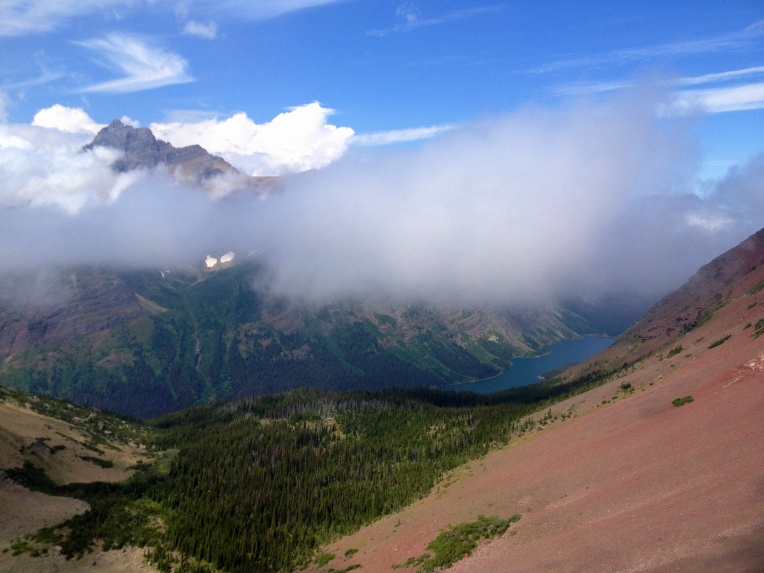
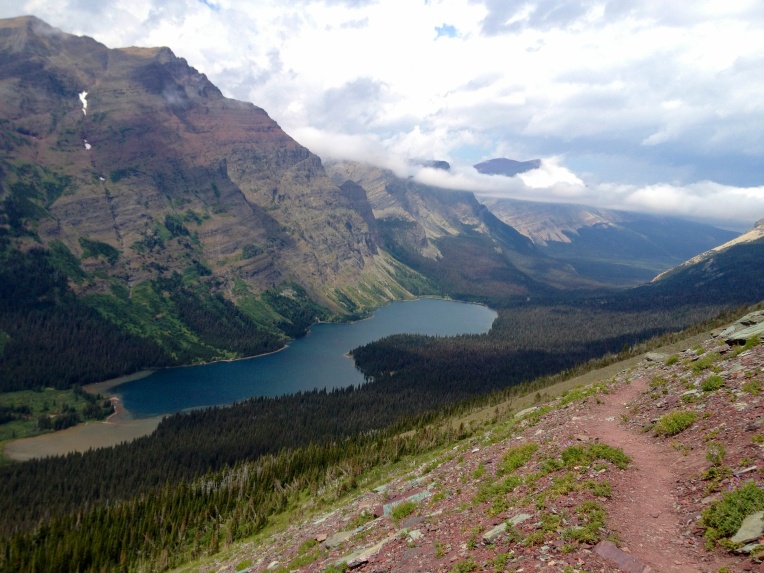
Our day hike took us north northeast away from Iceberg Lake and up about 900 feet. As is typical with Alaska, there were blueberries once again covering every step. I have to admit feeling guilty when backpacking Alaska, because you just can’t walk without stepping on blueberries! Our hiking time doubles because we can’t help but continually stop and forage. So much goodness and abundance. Not to mention that this was a STUNNING hike. The higher we ascended, the more ridiculous the panoramic views became. If you ever make it into this area of Wrangell, figure out a way to spend an entire down day hiking around and exploring. You will be better for it.

IMG_4198IMG_4216IMG_4201IMG_43462234F482-4A39-4C15-987D-C8A2CE3DDB99IMG_4205

Honestly, there isn’t much to say about this other than… wow wow wow. Out of every trip we have taken… THIS is the most beautiful spot I have ever stood. I could have stayed the entire week in this place.

FullSizeRender 20IMG_4199

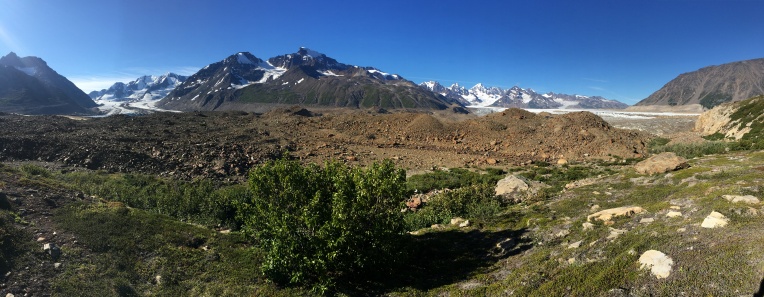
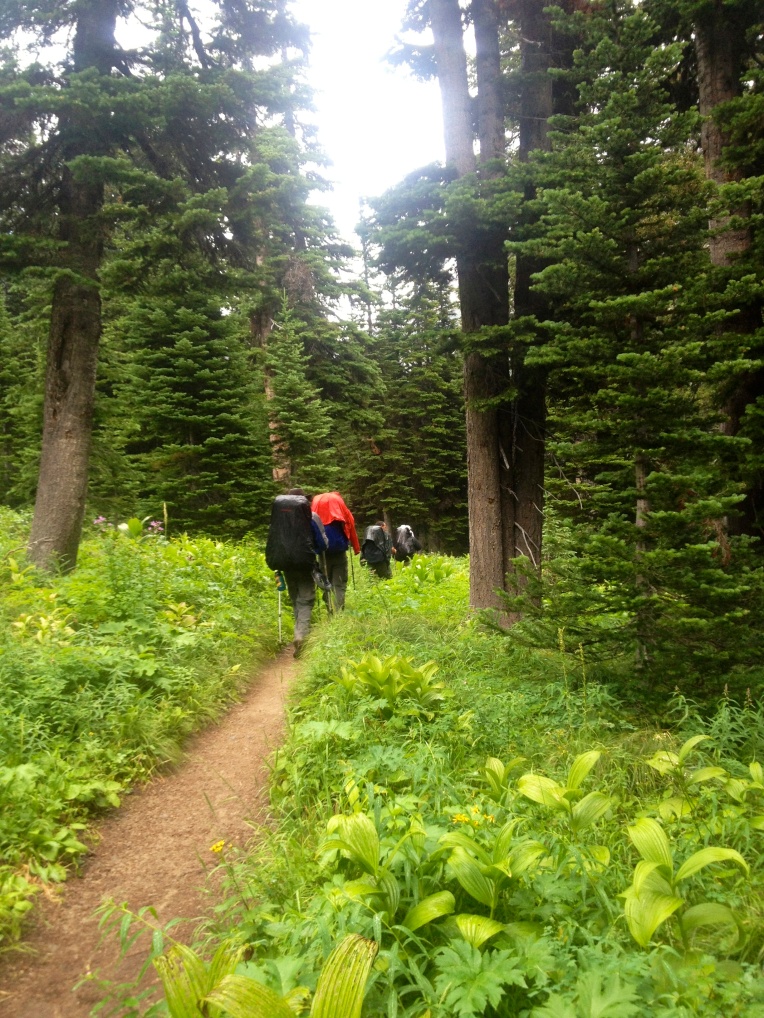
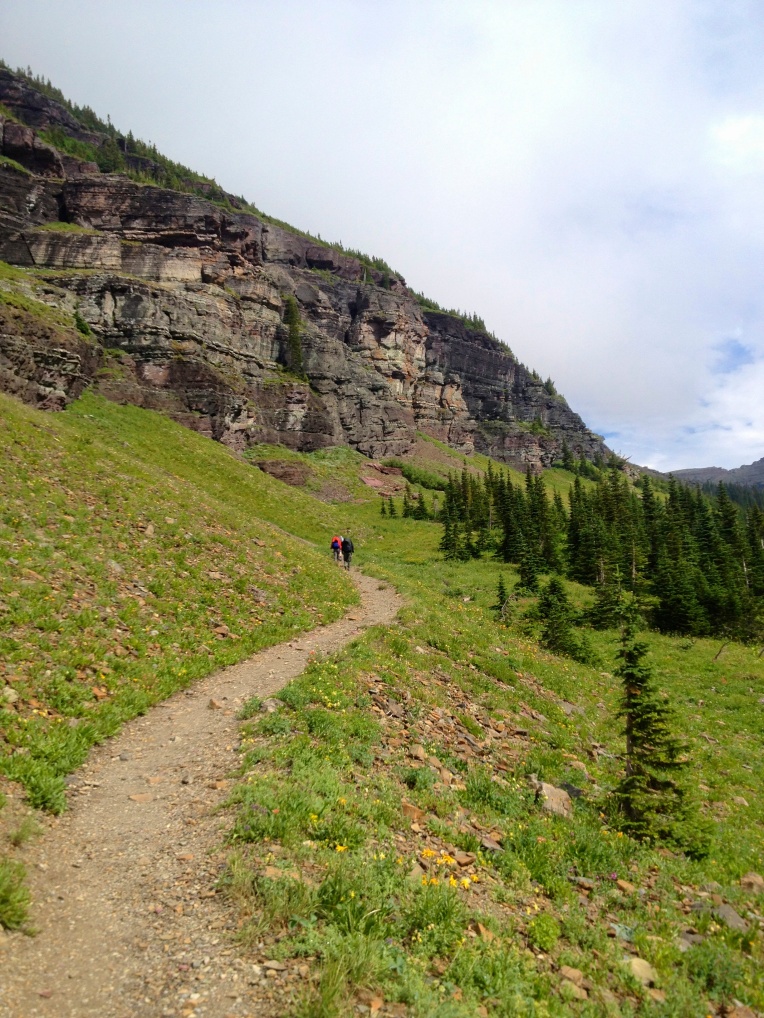
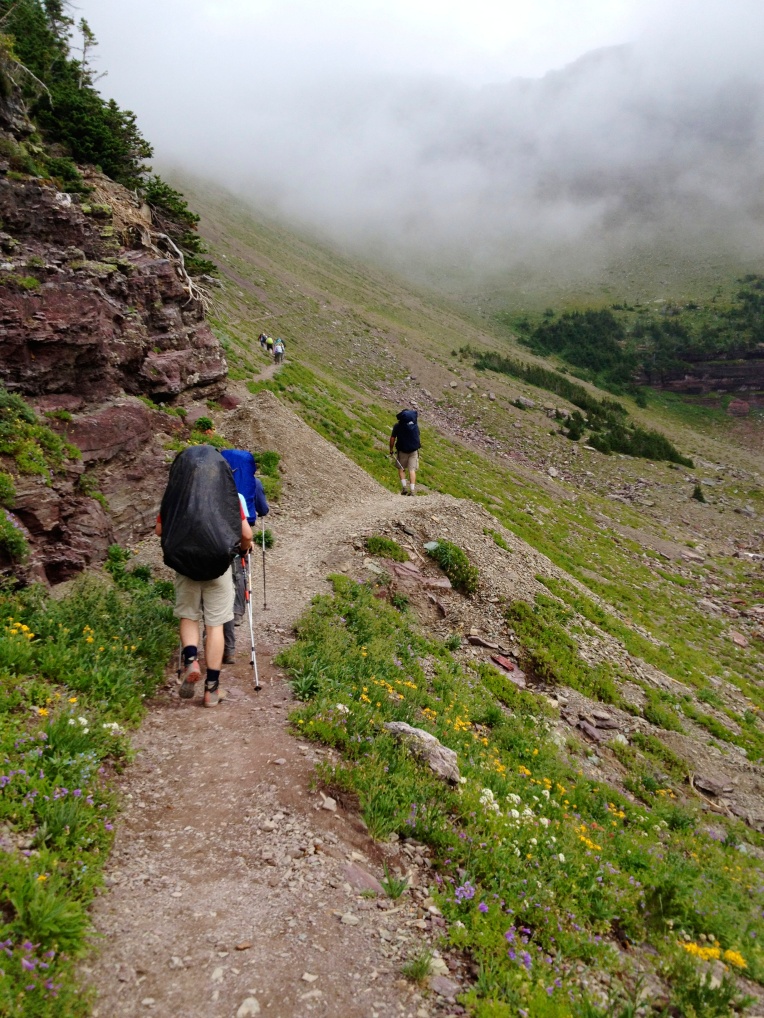
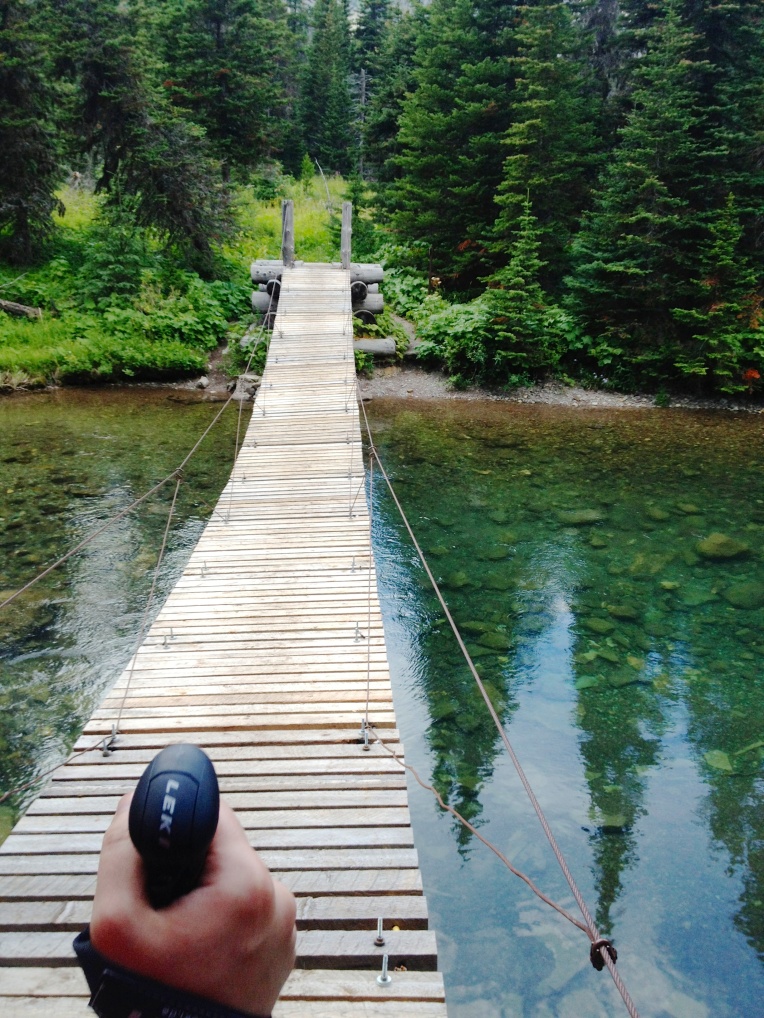
After we broke camp, we began our five mile jaunt to Iceberg Lake. This is where we were planning to camp on night five and day hike from on day six. That plan would change, but we still had to get to Iceberg Lake and find the landing strip. We headed down the gentle slopes of soft, spongy tundra laden with rocks and boulders and it was a pleasant, leisurely trek. That is until we got down to the braided glacial streams that reminded us that Alaska is never to be taken leisurely! While the streams look like you could just jump over them in the pictures, let me assure you that isn’t the case. They are deep and very fast moving. Admittedly, we waste a lot of time trying to find narrow portions that are easier to traverse, rather than just jumping in and going for it. I have said this about other trips, but I hate wet boots. I will jump in, but I always look for an option that keeps my boots dry. But as you soon figure out in the wilderness, you just have to suck it up and get across.

The only hiccup we had with the crossings was that Adam lost one trekking pole a couple of days earlier, which was going to decrease his stability in crossing. I would either lock arms with him on a crossing, or throw one of my poles to him after I had crossed. On this particular section there wasn’t anything that required anything more than trekking poles and a basic understanding of how to cross. The deepest we encountered was just above the knees.

One additional navigational point. As you are traveling south from Iceberg Overlook, I would recommend hugging a bit more toward the west. If you look at the very rough Google Map above, you will see that cutting too far east will get you into trouble, as the terrain gets very step and hard to traverse. Also, if you err toward the east, you will have an incredibly difficult time getting back to the airstrip because the crossings become too difficult. There isn’t any real way to tell you how to do it other than to stay away from the more eastern route.

IMG_4217imageIMG_4223

As is typical with difficult sections, I rarely take pictures. Sorry. It was cold and rainy and we were pretty wet from the crossings. After finishing the last portion of stream crossings and getting into the sand, we ducked into a small sand carve out to block the incessant and biting winds, and to also figure out our navigation points. It is at that point that we used the GPS device to check the weather. What we saw was that the rain was going to continue for the next day unabated at 100%. We debated what we ought to do, because the next day was to be a full day of day hikes. We decided to send a text to the bush plane company to see if they were going to be in the area the next day. As it turned out, they would be dropping a group at the exact spot where we would be camping. While it was unfortunate to bail one day early, none of us felt like getting hypothermia. We set our tents up in the sand while it poured rain (yup, nothing there but sand!). After getting off the cold, wet clothing and drying out the tent, I went to bed in my toasty sleeping bag.

The next morning was cold and rainy, as expected, but it wasn’t long before we could hear the low roar of our ride out. Wrangell St. Elias was everything and more and more and more. I absolutely cannot wait to go back there one day.

IMG_4229IMG_4233

Alaska: Wrangell-St. Elias National Park- Bremner Glacier to Iceberg Overlook- Day 4

Alaska: Wrangell-St. Elias National Park- Bremner Glacier to Iceberg Overlook

Total Mileage- 9.1 miles

Total Elevation Gain- 1928 feet

Total Elevation Loss- 918 feet

Screen Shot 2018-08-19 at 5.03.16 PM

Screen Shot 2018-08-19 at 5.05.20 PM

Day 4 in Wrangell-St. Elias National Park in Alaska would take us from Bremner Glacier to Iceberg Overlook. It is nearly impossible to locate names for areas in Wrangell, so I just made up the Iceberg Overlook, being that our campsite for this night faced the direction we would be heading… Iceberg Lake. I don’t recommend doing nine miles of trail-less backpacking in Alaska. Others may disagree, but I find that one mile per hour on difficult terrain is very taxing. And, I am not getting any younger. This particular day was 8 hours and 37 minutes of hiking time. This did not include breaks or lunch time. It was a long day, but one of the most beautifully stunning days we have had on any trip.

The day started brilliantly with exquisite views of Bremner Glacier and once we packed up we headed eastward from craggy rocks into sandy beaches. It was surreal to be in the middle of Alaska and to be walking in the sand in the middle of the mountains. The sand transitioned into a lush green valley floor that we would follow the rest of the day for about six miles.

IMG_4098IMG_4106IMG_4120IMG_4123IMG_4132

There were a few small creek crossings on this stretch. At one crossing we were searching for rocks to hop across (and looking a bit too myopically) and didn’t notice the brown sow with cubs lingering at the same creek about sixty yards from us. Fortunately the mother was pouncing on the ground for some small rodent to notice us. We cleared out of the area, but it didn’t take us long to see where the bears had been before us.IMG_4139IMG_4183IMG_4178IMG_4164IMG_4145IMG_4153IMG_4173IMG_4175

For the most part, the terrain was really straight forward. It was low scrub and soft, mossy mounds that were a little difficult to maneuver through. There was one creek/waterfall that we had to cross closer to our end destination. That is the way it always is in Alaska. I remember that crossing and the jump that had to be made from the last rock to the other side. It had to be a perfect landing… and we all hit it perfectly. The weather was perfect this entire day with highs in the mid to low 60’s F. IMG_4161IMG_4172IMG_4186IMG_4187IMG_4189IMG_4283

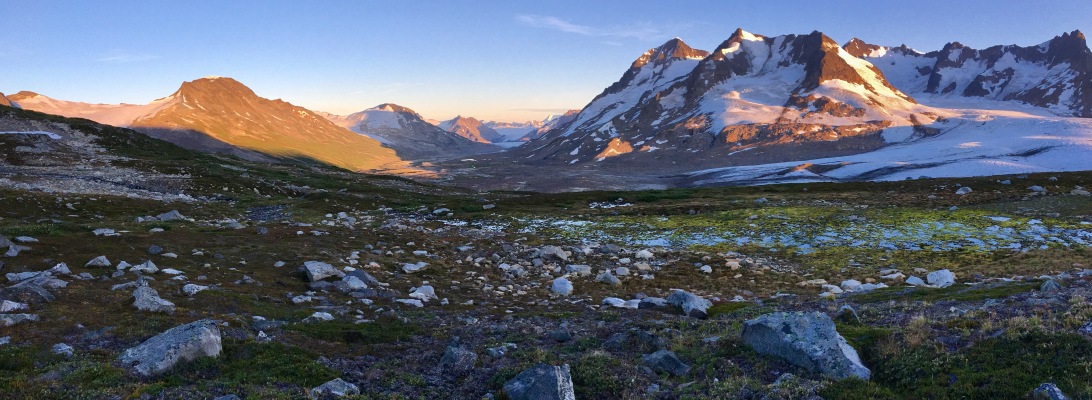
The spots where we camped are likely the best spots I have ever had in my life. The ground was soft and spongy underneath with a view that very few will ever see. As you can see from the evening shot above, it was an amazing location. And it got even more epic the next morning. On day five we will do an early morning day hike up to a hidden lake and then make our way toward Iceberg Lake.

Day 5- Iceberg Overlook to Iceberg Lake

Alaska: Wrangell-St. Elias National Park- Bremner Glacier Overlook to Bremner Glacier- Day 3

Alaska: Wrangell-St. Elias National Park- Bremner Glacier Overlook to Bremner Glacier

Total Mileage- 6.8 miles

Total Elevation Gain- 1714 feet

Total Elevation Loss- 1868 feet

Screen Shot 2018-08-19 at 11.18.14 AM

Screen Shot 2018-08-19 at 11.48.26 AM

Day 3 in Wrangell-St. Elias in Alaska took us from the Bremner Glacier overlook down to crossing the Bremner Glacier. The first two miles of this day had the potential of taking up most of our day. I say that because to get down to the glacier we would have to navigate through dense alder. And when I say dense, I mean dense. There were really only two considerations at this point. It was to either take the low route, which would invariably mean that we would be bushwhacking for the next five plus hours. Or, take the high route above the alder and hope for an animal trail that would cut through the alder. After much discussion and blueberry picking, we decided to take the high route and pray for an animal trail. Thanks to Josh Brown on this one, as he scouted out a bear trail that, within one hour, led us all the way down to a one-hundred foot overlook of the glacier where we took a long lunch break. Finding the bear trail was a thing of beauty and a huge time saver.

IMG_3930IMG_3937-2IMG_3932-2IMG_3935-2IMG_3939-2IMG_4064IMG_4068IMG_4072IMG_4446IMG_4074

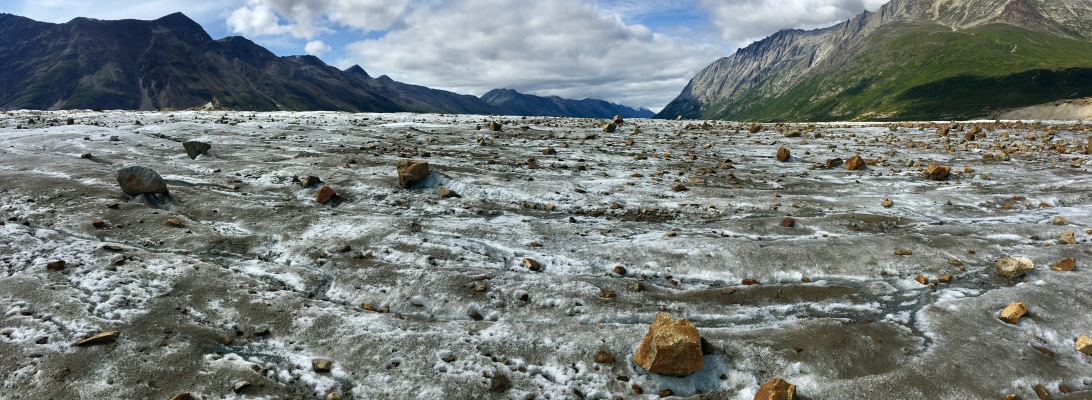
The easiest route down to the glacier after our lunch break was a rock slide. We followed it down and came face to face with Bremner Glacier, which we had to find a spot low enough to step up onto it. Our trek across Bremner was nothing short of stunning. We had previously watch a pair of wolves run across the glacier during our lunch break, but now we were traversing the glacier ourselves and experiencing its vastness. Alaska always reminds you how infinitesimally microscopic you are when you are swallowed whole by its size. What looked like a quick cross from a higher vantage point, became a few hour endeavor. Our initial plan was to cross the glacier and then take a high route over the adjacent mountain to reach our camp for the day. However, we met a guided group in which the leader encouraged us to stay on the glacier the entire way to our camp. He said it was much more visually stunning. So, rather than beat the bush, we trekked across the glacier…and we were better for it.

IMG_9934IMG_4116IMG_3981-2IMG_3984-2IMG_3987-2IMG_3989IMG_3991IMG_3993IMG_3996IMG_4003IMG_4458IMG_4010

For the most part, this was an easy route. The crevasses were relatively narrow on our path. However, had we taken a more westerly route, rather than a southeasterly route, we would have entered areas that would require technical skill and equipment that we did not have. We simply wanted to cross the glacier for the views and to reach our end destination for the day. As we stepped off of the glacier in that southeastern corner that hugged the edge of a mountain, we could see the height of Bremner and how imposing its accumulation was.

IMG_4021IMG_4530132748BF-6512-4162-921A-20AC4FFDC58DIMG_9993IMG_4286-2IMG_4037

The last portion of this trek led us up and away from the glacier on top of a rocky shelf. The campsite we chose had a brilliant view of the towering edges of the glacier. Our next day would take us through a staggering valley and closer to our end point at Iceberg Lake.

Day 4- Bremner Glacier to Iceberg Overlook

Awakening to All That is Good

Outside the Walls

It was an early fourth morning at Hance Creek, one of the few lush, vibrant ecosystems in the heart of the dry, arid, and unforgiving Grand Canyon. We had been on the trail-less Escalante Route the three previous days, hugging the mighty Colorado River in complete isolation, far from the usual touristy stops along the south rim and well beyond the maintained and frequented hiker trails that ascend and descend in and out of the canyon. We were in the rarely travelled backcountry of the Grand Canyon.

Our last ascent from Hance Creek would take us up a couple thousand feet to the visually stunning Horseshoe Mesa and then another thousand or so feet to our end destination at Grandview Point.

As we broke camp and steadily trekked toward the base of Horseshoe Mesa, there was a palpable and shared sense of excitement and trepidation. Excitement that we were conquering…

View original post 980 more words

Alaska: Stony Creek (Unit 39) Denali National Park- Day 1

Stony Creek Bridge Park Road (Unit 33) to Unit 39 Stony Creek

Mileage- 7.6 miles

Elevation Gain- minimal

Elevation Loss- minimal

Denali Day 1 NG Denali Day 1

The day before beginning our seven days in the backcountry of Denali we secured our backcountry permit, picked up our complimentary bear can, and scheduled our transportation to our drop-off point. The park really makes the entire process seamless and painless, but we came in with a game plan as well, and that helped. In terms of the transportation, the easiest way to get to your drop off destination is to get a ticket for one of the green school busses designated for campers. This can be done at the Wilderness Access Center. For my ticket it was about $35, I think. The rate varies based on how far you plan to travel into the park. You can find more information about the shuttle here. Our ticket has us being picked up at 6:50am at Riley Campground. We were able to park our car in a designated area for backpackers next to the shuttle pick-up at Riley. All of this was very easy and I was even able to pick up a cup of Starbucks that morning at the Wilderness Access Center. The shuttle ride was over three hours to the Stony Creek bridge. It wasn’t an official stop for the bus, but the drivers are cool with dropping you off wherever you need to go. We exited, grabbed our packs out of the back of the bus, and began to gear up.

IMG_3123IMG_3112

One of the most unbelievable moments of the trip happened within the first seven minutes.  Three of us headed down a gravel bar, while the other guy took a small detour up a little ridge.  We were still very close to each other but separated by ten feet of thick brush.  We were all heading to the same point- the small ridge and gravel bar eventually would converge.  As we were walking the gravel bar… a grizzly walked out of the brush just to our right.  It stopped 60 feet directly in front of us.  We did everything by the text book.  We stopped, began backing up slowly with our bear spray in hand, and talking gently to the bear.  While Patrick Fosdick and I were preoccupied with our cans of bear spray, Josh Brown somehow was able to snap a low quality photo of it.  Until just the other day, I did not know anyone got a picture of it. 10441139_10152370287352572_8794405871893094599_n

The only problem with this situation was that Kevin Fiesbeck was on the other side of the brush to the left… and did not know that a bear was heading his direction.  We were not sure what to do.  We didn’t want to make a ton of noise to startle the bear, but we wanted to alert him.  Also, even if he heard us would he believe that a bear was REALLY heading at him with the first five minutes of the trip?  We joke around so much with each other that there was no way he would believe us.  The other problem was that the lady from whom we bought the bear spray shamed us into buying two cans of spray rather than four.  Well, guess who didn’t have any spray?  By the time we caught up with the pale white Fiesbeck he told us that the grizzly came out of the brush and stood five feet in front of him and just stared at him.  Not sure if he peed his pants, but he got the scare of his life.  Anyway, the lessons were learned even for four guys who has a ton of backcountry experience: 1. Just because you are AT THE BEGINNING of your hike… it doesn’t mean that there isn’t danger right around the corner. 2. Just because you are AT THE BEGINNING of your hike… it doesn’t mean that you shouldn’t be calling out for bears and making noise. 3. Just because you are AT THE BEGINNING of your hike… it doesn’t mean that you should be careless and not stick together. We didn’t make any more mistakes over the next seven days.

IMG_3163

One of the greater challenges that we faced on this trip was creek and river crossings.  I will get into this more on Day 3, but the creeks and rivers very often braided, which made our hiking more like a game of Frogger.  We were always trying to find the path of least wetness.  You may say, “What’s the big deal with getting wet?  Suck it up.” Two reasons: 1.  For me staying dry is less about comfort than it is protecting myself.  If my boots are soaked and water-logged… then I have to deal with that for the next few days and risk foot related problems that could inhibit my hiking and slow us down.  If my pants are soaked… am I guaranteed sun to dry them out?  Not at all.  And without the ability to start a fire in Denali… clothes stay soaked.  Cool temperatures could potentially lead to hypothermic symptoms or even hypothermia. 2.  Even though most of the crossings were knee or below, the force by which the water was moving could EASILY sweep us down stream and compromise our safety.  On day 3 we dealt with water too deep and too fast moving to cross individually, but more on that later.  Be safe when crossing!

IMG_3165 IMG_3166IMG_3175 IMG_3182OLYMPUS DIGITAL CAMERA

In terms of terrain from Unit 33 into Unit 39, it may have been the easiest of our seven days.  Granted it is trail-less and you can make your own route, many times your route necessitates rougher terrain.  This day took us along creek beds, shallow creek crossings, spongy tundra, thigh high scrub brush, and Alder bushes.  I suppose it may have been the adrenaline of the first day (because the spongy tundra, thigh high scrub, and Alder bushes would take it’s toll on us on Day 3), but we didn’t have any trouble tackling the terrain on Day 1.  In fact, covering 7.6 miles in the trail-less Denali was somewhat impressive.  I can’t recall exactly how many hours we hiked the first day, but my guess is around four, which would make our speed close to 2mph.  We very, very rarely made it above 1mph the rest of the trip.  This is a testament to the roughness of the terrain and the amount of time it takes to find the least obstructive route.  But, always make time for blueberry breaks no matter where you are!

IMG_3201 IMG_3202 IMG_3203 IMG_3204 IMG_3209

The weather in Denali was unpredictable.  It could start the day cloudy and rain, but then later be blue skies with sun.  And believe me… the weather could change quickly.  On this particular day it started off quite cool in the low 50’s with gusty winds but then late in the afternoon the clouds broke and the sun popped out.  The blue skies and sun made for some really sweet picture taking!

IMG_3220 IMG_3221 IMG_3245 IMG_3248 IMG_3252 IMG_3259 IMG_3263 IMG_3264 IMG_3267 IMG_3269 IMG_3276IMG_3284

We finished Day 1 setting up camp close to Stony Creek.  The next morning would take us on a day hike across Stony Creek and up 1800-2000 feet to the peak of some unnamed mountains for epic views of the surrounding mountains and valley, including our route through Bear Draw on Day 3.

An edited, day-by-day version of my adventure in Denali National Park appeared in the fourth issue of Sidewalk – a hiking and backpacking magazine.

Montana: North Circle Route- Stoney Indian Lake- Day 6

We did not hike on Day 6.  We were stuck at Stoney Indian Lake in Glacier National Park, Montana.  Here is the story.

We went to bed at Stoney Indian Lake around 10pm and that is when it began to rain.  We could tell by looking at the sky that evening that something was brewing.  But without any sort of communication or the ability to check on our iPhones, we didn’t know if/when it would come or how long it would last.

It poured all night long.  And the temperature bottomed out around 45 degrees.

At around 7am I could tell that water was pooling outside of our three-man tent.  Sure enough we set the tent up in somewhat of a depression where water would run and collect.  There was probably an inch and a half of water around the tent.  We quickly exited the tent and relocated it atop a large rock that drained quite well.  Unfortunately during the relocation we got soaked and cold.  We hopped into the tent fully clothed with boots and sat patiently waiting for the storm to pass.

IMG_6664

But it didn’t.  It continued to pour.

Fortunately for the guys in the other tent, they were on higher ground, which meant (for the time being) they were dry and content staying in their tent.

After a couple of hours sitting uncomfortably in my tent, I suggested to the other two guys that we should probably plan for an extended stay.  So to that end, we began to clean the tent, set up our sleeping pads and sleeping bags, and organize our wet stuff.  At least this way we would be able to lie in our sleeping bags and warm up, which we did.

When a person is enclosed in a tent for hours, wide-awake, there is plenty to talk about.  And so we talked.

What is the plan?  Do we pack up in the pouring rain and hike to our next destination?  Do we stay put until it stops raining?  Will it ever stop raining?

We surmised that the safest plan was to stay in the tent where we knew, at least, we were warm and dry.

Setting out to another destination on a cold, rainy day was a little risky.  Sure, as a casual observer you may say, “Are you afraid of a little cold and a little rain?”  And I can understand that perspective.  But there were several factors that we consider before making our decision:

We had no way of checking to see how long the storm was going to last, so we continued to wait to see if it would finally break.  As a result, we waited until mid-afternoon… and it was still pouring.  At that point, if you begin to hike you will, no doubt get soaked, but also arrive at the next destination in the late evening when the temps have dropped again.  Being that we were not allowed to build a fire in the backcountry, one has to consider how to get dry and warm in such a situation.  All of our gear would likely be soaked from a four to five hour hike in the pouring rain even with waterproofing (yes, it was coming down that hard).  In our minds it was too much of a gamble to risk hypothermia by attempting the hike.  If one of us got hurt or exhibited the signs of hypothermia… how would we call for help?  We couldn’t.  We didn’t have any cellular signal and the closest emergency help was a 15 to 20 mile hike away (a 7.5 to 10 hour hike).  For proper perspective, we were far in the backcountry close to the Canadian border in Montana.  In our minds, the most logical and conservative decision was to stay another night at Stoney Indian Lake.

We discussed it with the guys in the other tent and they agreed.  They had war-gamed the same scenario.

And it turned out to be the correct call.  At about eight o’clock that night a hiker approached our tent and asked, “Do any of you know the signs of hypothermia?”  We said that we did.  He went on to tell us that his fellow hiker was coming down from the pass as we spoke and was potentially exhibiting the signs of hypothermia.

This is exactly why playing it safe is so important.

We went to sleep the next night hoping and praying that the rain would break during the night and that the sun would be nice and warm the next morning.

At 7am we looked outside of our tents and saw that it had indeed stopped raining.  We quickly began breaking camp and packing up the wet gear as quickly as we could.  When we were packed and just waiting on a couple of guys to finish a quick breakfast… it began to rain.

And so it rained and poured.  From 8am until noon, we hiked to our Day 7 destination.

But as it would turn out, our incessant prayers were being answered.  Not only did the rain stop when we reached the mountaintop… the sun began to break through the clouds and the wind began to blow.  It was the perfect opportunity to lay out ALL of our gear to dry.  As it turned out, Day 7 would be the most epic day of all.

Day 6 was a real challenge in many ways… but the biggest challenge was the loss of control.  Many times when we go on our backcountry trips, we have researched and researched and planned and planned… so much so that there is very little we haven’t considered.  In many ways we always feel as if we have everything in our control.  When the temps dropped and it began to rain, I realized that I had very little control over the situation.  The only thing we could really control was staying in the tent.  At least there we could control staying warm and dry.

So what did we do for 33 hours in a tent?  Sleep and talk and sleep.  What would you do?

IMG_6662 IMG_6663In the next post I will detail our hike from Stoney Indian Lake to Fifty Mountain.

Peace…

Brandon

Montana: North Circle Route- Many Glacier to Elizabeth Lake FT- Day 3

Many Glacier to Elizabeth Lake FT

Total Mileage- 10.10 miles

Total Elevation Gain- 2480 feet

Total Elevation Loss- 2518 feet

glacier-map route Day 3

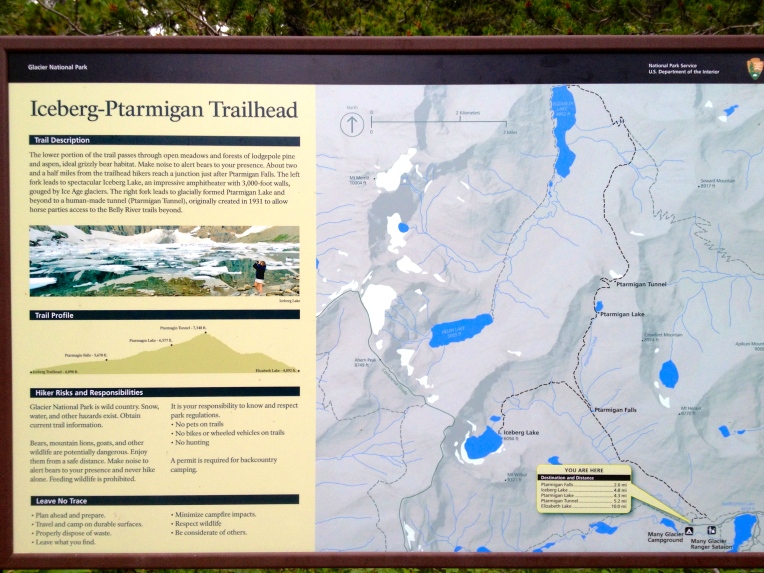
We packed up early at Many Glacier as we had over ten miles and significant elevation in front of us. Day 3 would have us traveling Ptarmigan Trail over 2400 feet up to Ptarmigan Tunnel, which is a very cool spot, and then descending down to Elizabeth Lake.

IMG_6414

Leaving Many Glacier we saw Ranger led tourist groups who would be traveling the same trail up to Ptarmigan Tunnel. Ptarmigan Tunnel is the last location along the remainder of the North Circle Route where we would encounter day hikers and tourists.

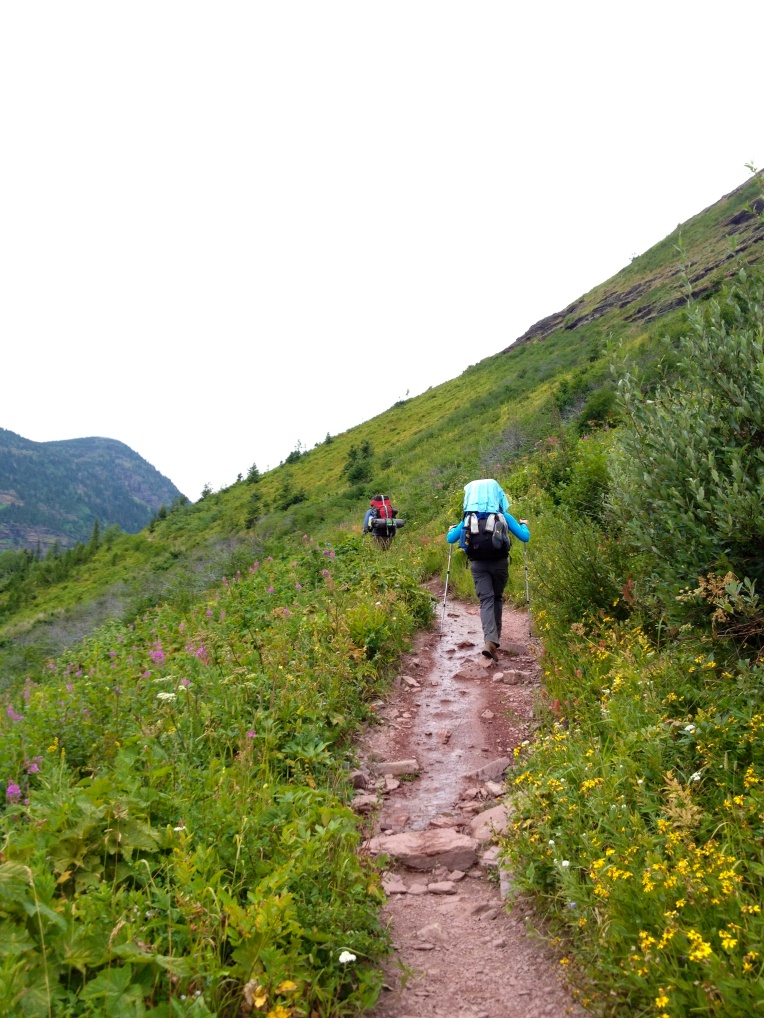
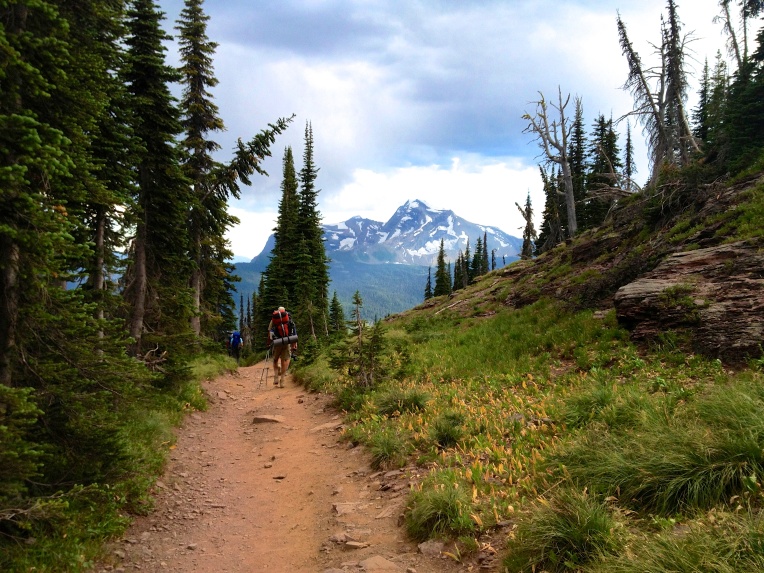
The morning began a bit overcast and we were confident that we would eventually run into some rain at some point. Needless to say that we had our pack covers and rain jackets readily accessible. Ptarmigan Trail is heavily used and well-maintained. Our ankles and knees appreciated the fine, dusty dirt trails. In the days to come the trails would not be so well-maintained… primarily because they do not get as much traffic and there is significant plant growth over the trails… but more on that in another post. For now, we are enjoying the gradual ascent up to the tunnel.

IMG_6420 IMG_6435 IMG_6437 IMG_6438

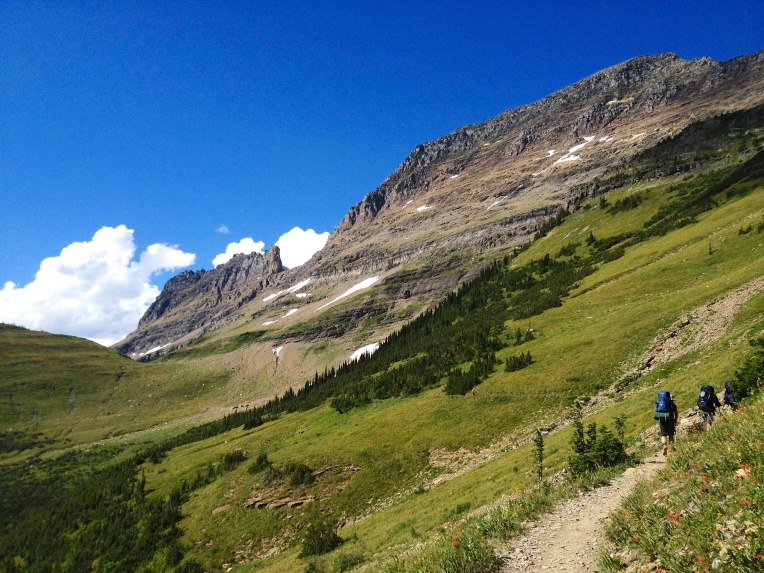
Once Ptarmigan Lake comes into view the tunnel does not seem to be very far away, but it is still a couple of miles and several mountainside switchbacks away. The switchbacks offer a beautiful southern facing view of Ptarmigan Lake and Mount Wilbur in the distance. Make sure you stop along the switchbacks to take it all in… it’s spectacular.

IMG_6442 IMG_6445 IMG_6448 IMG_6458

OLYMPUS DIGITAL CAMERA IMG_6854 OLYMPUS DIGITAL CAMERA IMG_6478Ptarmigan Tunnel is passed the half-way point from Many Glacier to Elizabeth Lake. Passing through the tunnel has a real sense of accomplishment and, at least to me, signified the break between day hiking and backcountry backpacking. We stopped for a significant lunch break and took the opportunity for some pics and for some fun. You will notice the cloud cover hovering just above our heads. As we descended Ptarmigan Trail the clouds began to break… opening the skies for some much needed sunshine.

IMG_6480 IMG_6482 IMG_6489 IMG_6499 IMG_6502 IMG_6509 IMG_6514 IMG_6521

IMG_6827At this point the trail was composed of a fine, brick-like rock which was, again, easy to hike. As we started down this portion of the trail we could see Elizabeth Lake coming into view. I remember stopping and saying, “This spot may be the most beautiful place I have ever been in my life.” I would subsequently say the same thing later that evening at Elizabeth Lake and then again at Fifty Mountain on Day 7. Pictures are so inadequate.

The Elizabeth Lake FT campsites are located on the north side of the lake, which is closest to the trail. If you are staying at the campsites labeled as Elizabeth Lake… they are at the south end of the lake, which adds an additional mile to your hike as you can only arrive there by first passing Elizabeth Lake FT and then hiking southward around the lake.

IMG_6525

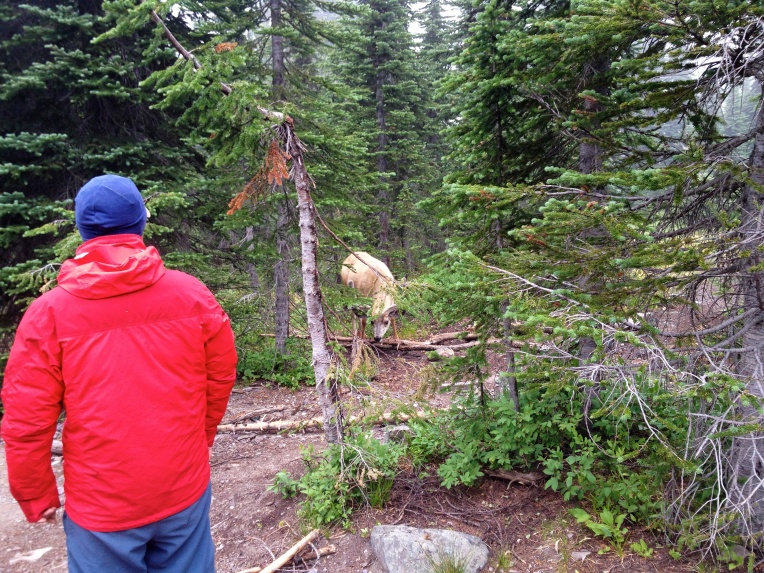
At this point I should note a couple of things. You are now legitimately in the backcountry. Please take ALL precaution with your food. Immediately store your food in the metal bins in the eating area and DO NOT leave your food unattended even for a split second. A few hundred yards from our camp (but only 50 feet from us) we saw a very large grizzly. Fortunately we had been making enough noise that he wasn’t alarmed and he subsequently moved along. The animals WILL come into your camping areas to take your food. Early the next morning as we were packing up a Ranger approached us and asked for our permit and also asked where our food was located. We told him that we had already put it in our packs so we could leave. Six out of seven of us had our packs with us so this wasn’t a problem. Unfortunately one guy in our group had packed his food but left his backpack unattended by our tents. The Ranger reprimanded him for his carelessness and told him/us that we could very easily write a citation for the offense.

He spent thirty minutes with us telling us stories as to why it is essential that we always keep our food with us or stored away. The most notable reason is that once a bear eats food in the camping vicinity, the park has to close down that area for over two weeks so that the bear will no longer connect that area with food. For the sake of the bears and for the sake of future backcountry campers, take all necessary precautions with your food.

I hope that you enjoy Elizabeth Lake as much as we did.

In the next post I will be detailing our hike from Elizabeth Lake FT to Mokowanis Junction.

peace…

brandon

Montana: Glacier National Park- North Circle Route- Logan Pass to Granite Park- Day 1

Logan Pass to Granite Park

Total Mileage- 8.0 miles

Total Elevation Gain- Approximately 900 feet

Total Elevation Loss- <100 feet

glacier-map route Day 1

IMG_6199

We parked at The Loop, as we would be finishing Flattop Mountain Trail there on Day 8, and took a park shuttle to Logan Pass to begin our hike on Highline Trail. Once you are in the parking lot, which is quite busy in the summer with tourists, you will find Highline Trail located on the north side of the parking lot across Going to the Sun Road.

Highline immediately begins to ascend at a very nice grade above Going to the Sun Road and one can see cars backed up for miles. On this particular day everyone had stopped to see the Big Horned Sheep that were grazing near the road.

Our route for the next couple of days to Granite Park and Many Glacier would prove to be areas where tourists gathered for summer vacations and day hikes. This wasn’t a big deal because the remaining six days would be as remote as anything we had ever done.

IMG_6204IMG_6211

The trails were a powdery dirt with fine rocks. This came as a huge relief, as much of our backcountry hiking in the Rockies the year before were… well… really rocky and hard on the ankles. While portions of the North Circle Route in the touristy are wide and heavily used, the more remote portions are not heavily used, very narrow, and full of overgrowth. But more on that later.

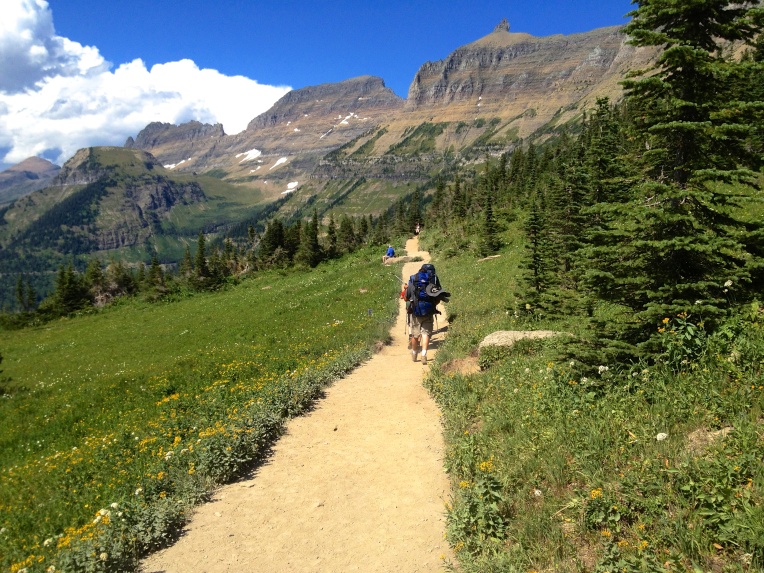
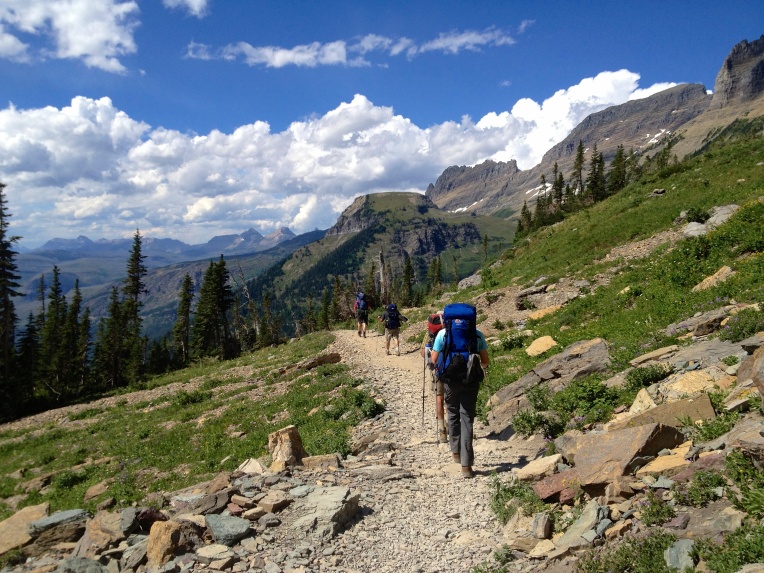
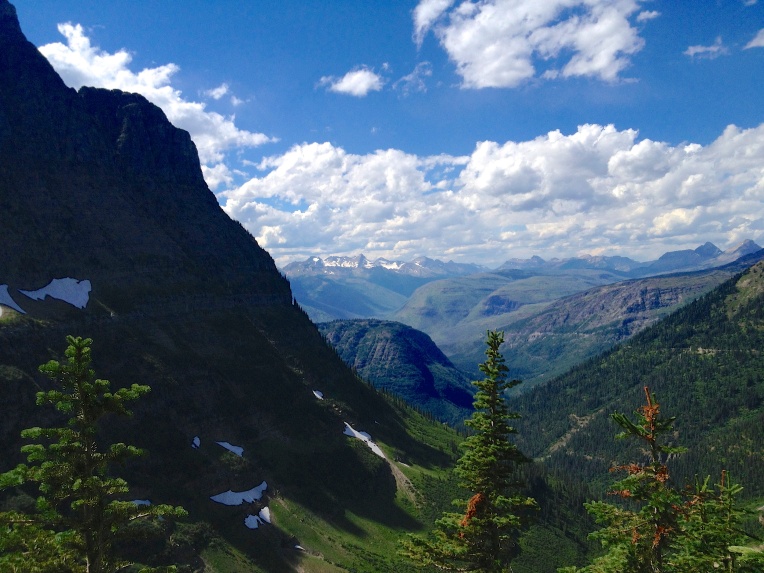
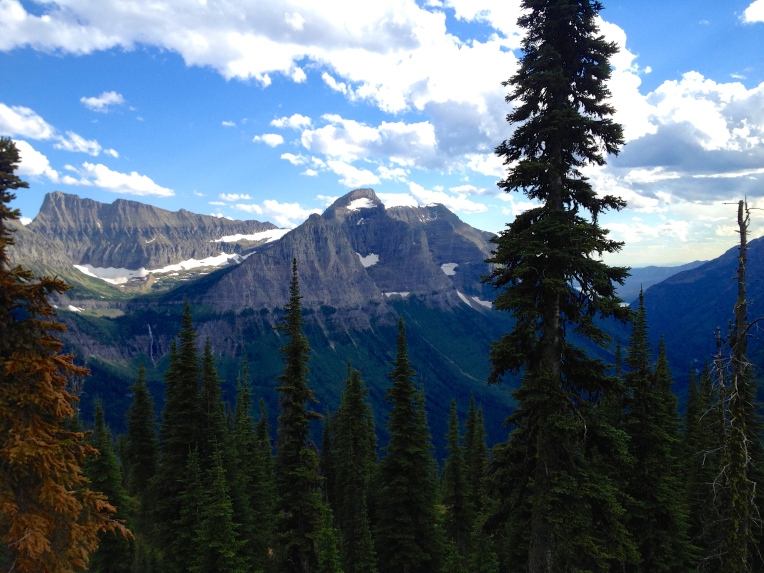
The views from Logan Pass to Granite park were nothing short of magnificent. We found out very quickly that our vocabulary was sorely lacking in being able to describe what we were seeing. You can only use words like “beautiful” and “stunning” so much… until you realize the best thing to do is just stand there in awe and not say a word.

IMG_6216

IMG_6222

The hike from Logan Pass to Granite Park is an easy hike by any standard. Even with 40 pound packs we did not exert much effort at all. Granted, eight miles is eight miles… and you can usually go about 2 miles per hour with a heavy pack… so it took us around four hours to reach Granite Park.

IMG_6237

IMG_6242

IMG_6245

Close to the midway point of this hike you will reach the Garden Wall, which is a spectacular view of several mountain peaks but also of the colorful wildflowers that blanket the area. Once we passed Haystack Butte we stopped for some views and a quick snack.

IMG_6250 IMG_6251

One thing to keep in mind if you are hiking this route in the mid to latter part of July is that it can still get quite cool at times.

If you look closely in the distance on the second half of Highline Trail you will begin to see Granite Park Chalet. This marker, while it proved to be very close to where we would be camping, was quite deceptive. We could see it from several miles away and thought we were much closer. It was surprising how long it took us to make it to the chalet, but once we made it there we were just five minutes from our campsite for the night.

IMG_6262IMG_6266 IMG_6270 IMG_6274 IMG_6284

IMG_6275Despite calling the Backcountry Office before leaving Indiana, being told that the temperatures were running warmer than the seasonal averages, and that we would not need warm jackets or gloves… we were definitely getting cold once we reached Granite Park around 7pm. We started the hike around 3pm because we had to pick up our backcountry permit, watch a 30 minute instructional video, and then shuttle to Logan Pass. While we didn’t have warm jackets or gloves, we just added more shirt layers and wind breakers.

IMG_6285 IMG_6286 IMG_6289

Granite Park camp has designated areas for camping and eating. It is mandatory you eat and that your bagged food is hung up by rope in the food area. Yes, bears and other wildlife will come after your food. Do not have your food in any other areas because animals will take it.

The next post will detail our trek from Granite Park to Many Glacier.

peace…

brandon

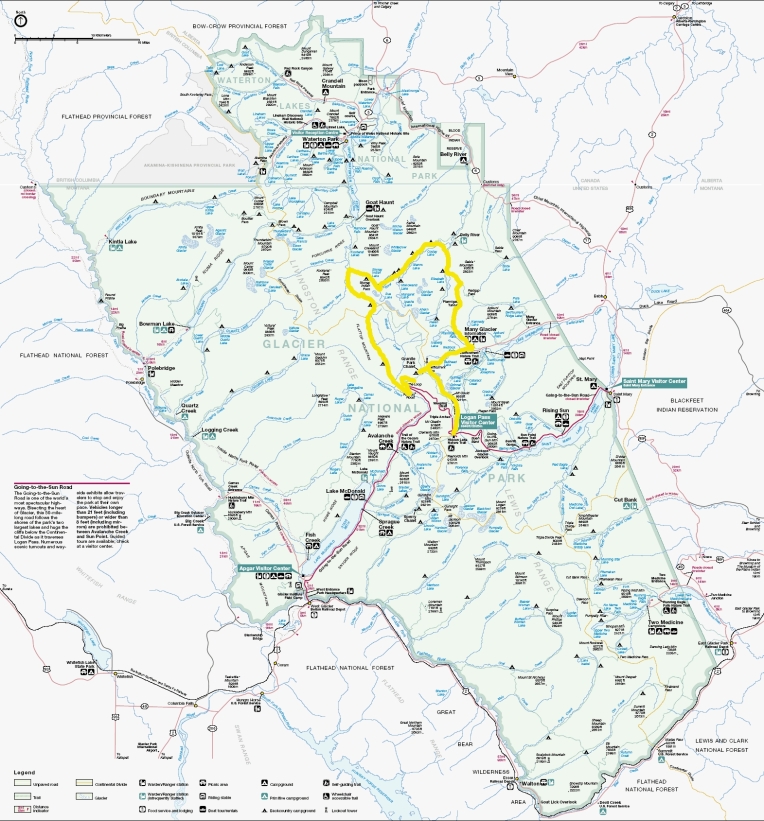
Montana: Glacier National Park- North Circle Route

IMG_6234I had read in at least two spots on the internet that the North Circle Route in Glacier National Park was considered one of the top ten hikes in the world.

Of course after last year’s amazing backcountry hike in Rocky Mountain National Park… we needed something even more challenging and epic.

There was no question the beauty would be second to none. And the more we researched the North Circle Route, we realized this route would certainly meet the “more challenging” part as well.

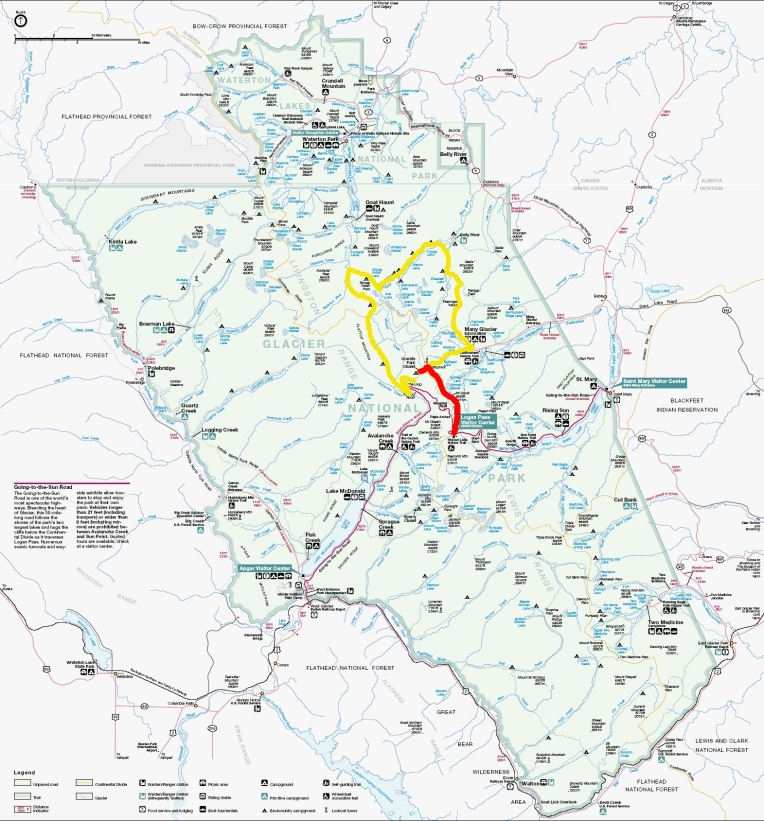
The North Circle route in Glacier National Park is a 65-mile loop trail comprised of Swiftcurrent Pass Trail, Ptarmigan Trail, Stoney Indian Pass Trail, and either Flattop Mountain Trail or Highline Trail. We realized quickly that the “challenging” part of this loop was the minimum of six nights, seven days in the backcountry and packing all of our food for the week. One could certainly do this loop faster and cover more ground daily BUT you would be doing yourself a serious disservice being in one of the most beautiful places on earth only to rush to get to your next location. This is a route that deserves your attention.

After researching and studying North Circle and then selecting the recommended backcountry sites, I began to fill out the mandatory permit application ($30 non-refundable application fee). Being that we would be a group of six, we had to request two backcountry campsites at each stop. This was going to be a bit of a stretch because the Glacier Backcountry Office typically receives over 1200 applications each year. As it turned out in our case, over 1600 applications were received for 2013 during the early application window from January 1st through the middle of March. At some point in May the Backcountry Office began to randomly select and assign the trips.

Even though the beginning point of our itinerary (starting in Waterton Park, Canada and entering through Goat Haunt) did not get approved… we were selected and approved for the entire route with two campsites at every destination. Our beginning point would be Packer’s Roost and then traveling counter-clockwise.

Here is our approved trip itinerary:

Packer’s Roost TH

DAY 1: Granite Park- 5.1 miles 2790 up 0 down

DAY 2: Many Glacier- 7.6 miles 735 up 2255 down

DAY 3: Elizabeth Lake FT- 10.1 miles 2480 up 2518 down

DAY 4: Mokowanis Junction- 8.7 miles 298 up 290 down

DAY 5: Stoney Indian Lake- 5.7 miles 2410 up 1000 down

DAY 6: Kootenai Lake- 5.3 miles 0 up 1975 down

DAY 7: Fifty Mountain- 8.3 miles 2280 up 0 down

DAY 8: Packer’s Roost- 12.0 miles 565 up down 3585 down

As you can surmise from the approved itinerary… instead of getting seven days on the trail… they gave us eight. I think that since they did not give us Waterton… they wanted to give us a nod at Kootenai. Certainly a very nice gesture and very accommodating.

There were only two modifications to our itinerary once we arrived at the Backcountry Office to start our hike. The first is that one of the Rangers recommended that instead of starting at Packer’s Roost and a gargantuan uphill hike, we may enjoy a much more leisurely and picturesque hike from Logan Pass to Granite Park. Yes, the mileage would be greater (close to 8 total miles) but the energy exerted and the views would be worth it. We took that recommendation.

The second modification to our itinerary was caused by the elements, which I will describe in more detail in another post. While at Stoney Indian it rained for 33 hours straight in 45 degrees. One of our tents was in a small depression and pooled two inches of water overnight, which left us scrambling to relocate on a large rock and leaving us soaked in the process. We decided that, as it continued to pour throughout the day, to not chance hypothermia and stay another night at Stoney Indian (foregoing Kootenai). Ugh. This meant that we would leave Stoney Indian and travel directly to Fifty Mountain the next day. This plan, while not ideal, worked out perfectly.

Here is what our actual itinerary ended up being:

Logan Pass TH

DAY 1: Granite Park- 8.0 miles 900 up ? down

DAY 2: Many Glacier- 7.6 miles 735 up 2255 down

DAY 3: Elizabeth Lake FT- 10.1 miles 2480 up 2518 down

DAY 4: Mokowanis Junction- 8.7 miles 298 up 290 down

DAY 5: Stoney Indian Lake- 5.7 miles 2410 up 1000 down

DAY 6: Stoney Indian Lake (TORRENTIAL RAIN DAY)

DAY 7: Fifty Mountain- 8.3 miles 2280 up 0 down

DAY 8: The Loop Parking Lot- 13.0 miles 1000 up 2500 down

North Circle Route (Glacier National Park)

Come back to this page over the next couple of weeks and I will be linking each day of the itinerary to a summary of the hike with pictures. I would love to hear your feedback and take your questions as well!

peace…

brandon